Introduction to Paper Folding Crafts
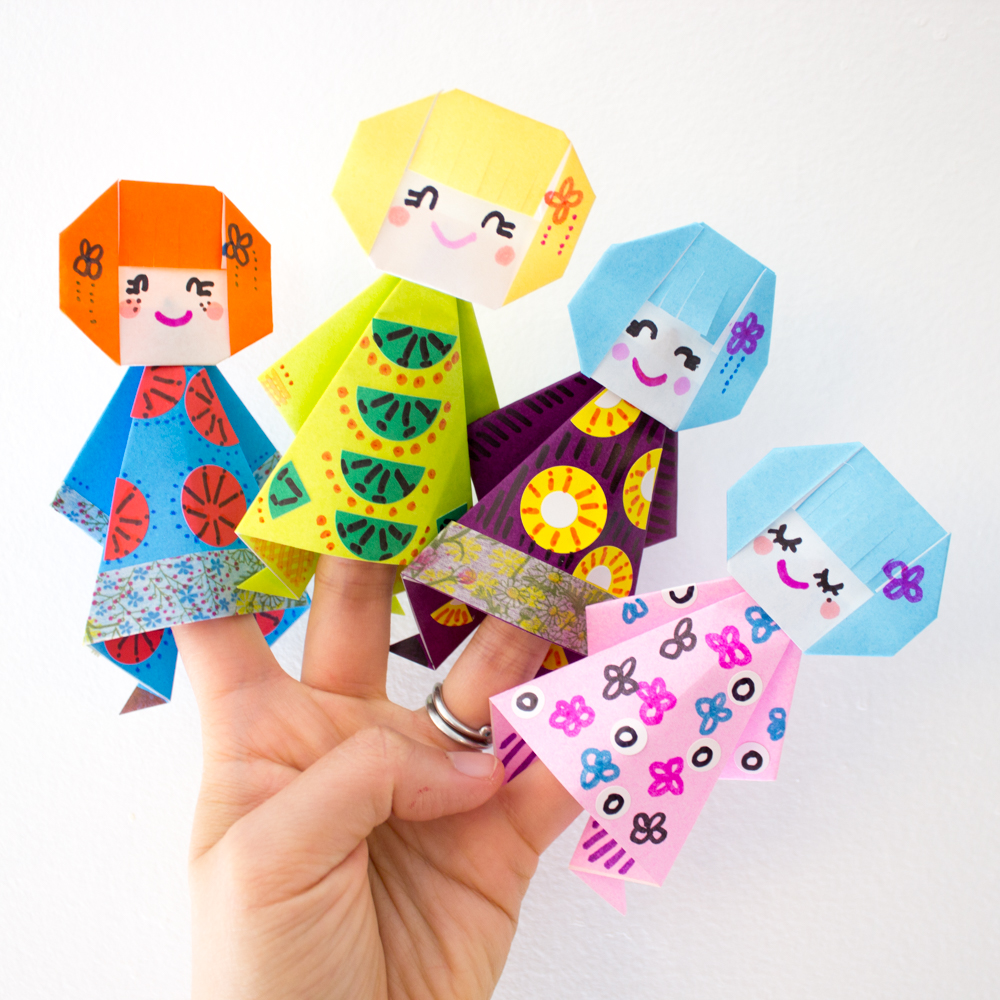
Paper folding crafts are a form of art. They transform flat sheets into vibrant 3D objects. This craft is also known as origami. It comes from the Japanese words ‘oru’ (to fold) and ‘kami’ (paper). It has a rich history crossing cultures and generations.
Paper folding is not just for experts. Beginners can enjoy this too. With simple materials and a variety of patterns, anyone can start. It’s a great way to boost your creativity. Moreover, it’s an eco-friendly hobby. You can reuse papers and craft new things.
Let’s dive into the world of paper folding. We’ll explore the materials you’ll need. We’ll learn some basic techniques. And we’ll go through step-by-step practices. This will include making a paper crane and a classic paper boat. We’ll also have fun with a paper fortune teller. Lastly, we’ll share tips to hone your paper folding skills. So grab your papers, and let’s get started with some paper folding crafts step by step!
Materials Needed for Paper Folding Projects
Before diving into paper folding crafts step by step, you need the right materials. The good news is that you don’t need much to get started. Here’s a list of essential items:
- Paper: This is the core of any paper folding project. You can start with regular printer paper, but for a more authentic experience, use square origami sheets that come in different colors and patterns.
- Scissors: Some projects may require cutting the paper into specific shapes or sizes before folding.
- Ruler: A ruler can help you make precise folds or measure out sections if you’re creating your own patterns.
- Bone folder: Not a must-have, but a bone folder can make your creases sharp and professional-looking. If you don’t have one, the back of a knife or a credit card can work too.
- Pencil: Use a pencil to lightly mark your paper where folds will go, to ensure accuracy.
Gather these supplies, clear a workspace, and you’re prepared to start. Remember, the better your materials, the more impressive your final craft will look. Now let’s move on to some basic paper folding techniques.
Basic Paper Folding Techniques
Mastering some basic paper folding techniques is crucial for your crafting journey. Here are a few core ones to get you started:
- The Valley Fold: This is perhaps the most straightforward folding technique. Bring two edges of the paper together and press down to create a crease in the center. Think of it as creating a ‘valley’ with your paper.
- The Mountain Fold: The mountain fold is the opposite of the valley fold. Instead, you crease the paper away from you, making a ‘mountain’ peak.
- The Squash Fold: Begin with a valley fold. Then open up the paper, and flatten it down from the top, squashing it into a new shape.
- The Reverse Fold: First, make a valley fold. Then unfold and fold the paper back along the same crease line, but in the opposite direction. It’s great for adjusting angles.
- The Pleat Fold: This involves folding the paper back on itself multiple times. It creates a series of valley and mountain folds next to each other, much like an accordion.
Remember, practice makes perfect. Try these folds slowly, step by step. Use your ruler for precise lines and your bone folder for sharp creases. In time, you’ll fold with confidence and ease. Let’s put these techniques to use in our next sections, where we’ll fold a paper crane and a boat.
Step-by-Step Guide to Creating a Simple Paper Crane
The paper crane is a classic symbol of peace and one of the most iconic paper folding crafts. This step-by-step guide will help you create your own paper crane. Follow each step carefully to ensure your crane looks elegant and symmetrical.
- Start with a Square Sheet: Use a square origami paper. If you only have rectangular paper, fold it diagonally and cut off the excess to form a square.
- Create Creases: Fold the paper in half diagonally both ways. Unfold to see a cross crease. This guides later folds.
- Form a Triangle: Bring the lower corners of the paper to the top corner. You’ll get a smaller square. Flatten to sharpen creases.
- Make Squash Folds: Fold the upper layers of both sides towards the centerline. Flip the paper over and repeat. You will see a kite shape.
- Open and Squash the ‘Kite’: Lift the top flap and fold it upwards, creasing where the sides intersect with the centerline, and squash down. Flip the paper over and repeat.
- Narrow the Sides: Fold the outer edges of the ‘kite’ towards the centerline on both sides. This step shapes the crane’s wings.
- Create the Crane’s Head and Tail: Fold the two thin arms down to create the crane’s neck and tail. Pinch one of the ends to make a small fold for the head.
- Finish the Wings: Carefully pull the wings apart to reveal the body of the crane. Gently pull the wings down to give the crane its final shape.
Take your time to align your folds for a cleaner and more precise crane. Try using different paper colors and patterns once you’ve got the hang of it. Each crane you fold brings you closer to mastering this beautiful paper folding craft step by step.
Crafting a Classic Paper Boat
After mastering the elegant paper crane, let’s move on to another timeless paper folding craft. We’ll be creating a classic paper boat. Boats have always captured the imagination. It’s a simple project that’s fun for all ages. With a few folds, you can sail away on a miniature adventure.
Here are the paper folding crafts step by step to make your own paper boat:
- Start with a Rectangular Sheet: Pick a piece of paper that’s a rectangle, like an A4 sheet.
- Fold in Half: Fold your paper in half, long edge to long edge.
- Fold the Corners: Fold the top corners into the center to form a point.
- **Create the Boat as a result, your paper will now look like a triangle with a rectangle at the bottom.
- Fold up the bottom flaps: Fold the rectangle part up on both sides, making a hat shape.
- Open up the middle: Stand the hat up and pull the two sides apart. This will make a diamond shape.
- Fold the bottom up once more: Take the bottom of the diamond and fold it upward on both sides to create an even narrower diamond shape.
- Form the boat: Gently pull the layers apart from the bottom corner. As you open it, the boat will take shape.
Your paper boat is complete! Float it on a calm surface and watch it drift. As with all paper folding crafts step by step, take your time. Precise folds mean a better-looking boat. Practice with different papers and sizes. You’ll soon build a fleet fit for any puddle, pond, or bathtub.
Fun Paper Folding Activity: The Fortune Teller
Paper fortune tellers are great for kids and parties. They’re fun and easy to make. Here’s how you do it step by step:
- Start with a Square: You need a square piece of paper. If your paper is rectangular, fold and cut it into a square.
- Fold Diagonally: Fold the square in half diagonally in both directions. Unfold to see an ‘X’ crease.
- Bring Corners to Center: Fold each corner of the square to the center. You’ll end up with a smaller square.
- Flip and Repeat: Turn your paper over. Again, fold each corner to the center.
- Write Numbers and Colors: Flip your paper again. Write numbers on the flaps. Open each flap and write a fate or challenge inside.
- Create Folds for Fingers: Fold your fortune teller in half. Open the pockets for your fingers.
- Play the Game: Put your fingers in, ask someone to pick a number or color, and spell out the choices. Open the flap to reveal their fortune!
Remember to make sharp creases for a good fortune teller. Use colorful paper or decorate to make it unique. Enjoy watching friends unfold their fortunes with this timeless paper craft.
Tips for Improving Your Paper Folding Skills
Enhancing your paper folding abilities is key to excelling at origami. Here are some tips to help you sharpen your skills. Remember, practice is essential. The more you fold, the better your outcomes will be.
- Practice Regularly: Set aside time each day to practice your folding. Consistent practice builds muscle memory.
- Start with Simple Designs: Don’t rush into complex patterns. Begin with easy projects and gradually tackle more intricate ones.
- Use High-Quality Paper: Better paper can improve folding ease and final craft appearance. It withstands multiple folds.
- Maintain Clean Hands: Oils and dirt from hands can mar the paper. Clean hands help keep your paper in pristine condition.
- Work on a Flat Surface: Smooth, flat surfaces make precise folds easier. Your folds will be sharper and more accurate.
- Be Patient: Complex folds may not be perfect the first time. Take your time to understand each step.
- Learn from Mistakes: If a fold goes wrong, analyze it. Understanding your errors leads to improvement.
- Study Technique Videos: Watch online tutorials for visual guidance. Seeing someone else fold can provide helpful insights.
- Join a Community: Find others who enjoy paper folding. Sharing tips and tricks can boost your learning.
- Keep Your Creases Sharp: Use a bone folder or similar tool for crisp edges. Sharp creases are central to paper folding crafts step by step.
With these tips and regular practice, you will see your paper folding crafts get better step by step. Your dedication will unfold into beautiful, intricate designs that you can be proud of.
Conclusion: Unfolding Your Creativity with Paper Crafts
Reflecting on our journey, we see paper folding crafts as more than just creations. They are expressions of creativity, brought to life with simple folds in paper. As we moved through paper folding crafts step by step, we unlocked the power of transforming a plain sheet into a symbol of peace with a paper crane. We embarked on whimsical voyages with our paper boats. And with each paper fortune teller, we crafted joy and wonder at gatherings.
The simple materials and basic techniques we used brought us closer to mastering this timeless art step by step. It’s an activity that nurtures patience and dexterity, while also being a sustainable craft that can repurpose and recycle paper.
Whether it’s through the soothing repetition of folds or the delight of seeing a finished piece, paper folding crafts offer a way to unwind and reveal the inventive spirit in each of us. They encourage us to keep improving, aiming for that perfect crease or innovating with new designs.
We hope these paper folding crafts step by step have inspired you to start if you’re a beginner, or to continue honing your craft if you’re already familiar with the joys of paper folding. The folds might be simple, but the possibilities are endless—as boundless as your creativity allows. So keep folding, and let the paper reveal your story, fold by fold.


