Introduction to Butcher Paper in Craftsmanship
Butcher paper, a versatile material, offers a blank canvas for creative minds in art and crafts. It’s durable, affordable and readily accepts various mediums, from crayons and markers to paints and adhesives. This makes it ideal for myriad projects, fitting a range of age groups and skill levels. Recognized for its substantial weight and kraft pulp base, butcher paper serves as a sturdy foundation for crafting experiences. Its simplicity adds to its appeal, letting the colors and textures of your creation stand out. In crafting, butcher paper’s adaptability complements an array of techniques and applications. Whether you’re planning to construct a custom banner, wrap a unique gift, or engage with children in educational art activities, butcher paper for crafts promises a reliable and inspiring backdrop to your creative endeavors.

Types of Butcher Paper and Their Uses in Crafts
Butcher paper for crafts comes in various forms, each suited to different creative needs. Here’s a closer look at the most common types and how crafters can use them:
Plain Butcher Paper
Plain butcher paper is the staple in craft projects. It’s great for drawing, painting, and even printmaking. Its smooth surface accepts a variety of mediums. Artists often use it as a base for mixed media artwork.
Bleached Butcher Paper
Bleached butcher paper is lighter in color compared to its plain counterpart. This makes it an excellent choice for projects that require a bright background. It’s perfect for vibrant crafts that need to pop.
Colored Butcher Paper
Available in multiple hues, colored butcher paper is ideal for decorative purposes. It’s often used in making festive banners and for bulletin board backgrounds in classrooms.
Waxed Butcher Paper
Waxed butcher paper has a resistant coating that’s useful for crafts involving moisture, such as making homemade stickers or wrapping food gifts.
Recycled Butcher Paper
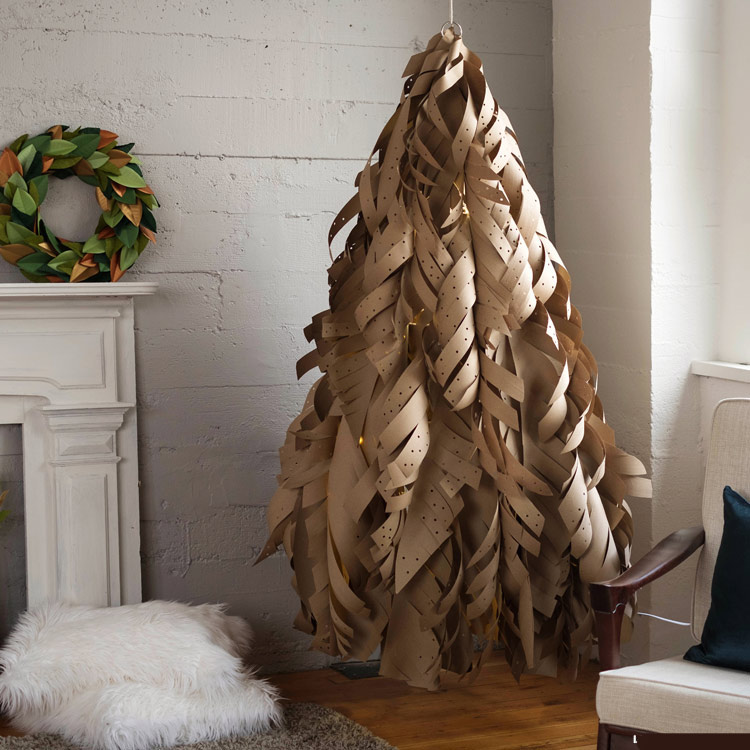
Eco-friendly and durable, recycled butcher paper is made from post-consumer content. It’s suitable for environmentally conscious projects and crafts that require a sturdy, textured base.
Butcher paper for crafts can transform any idea into reality. Its versatility is what makes it a go-to for both newbies and seasoned crafters. Whether you’re sketching out a landscape, creating custom gift wraps, or even modeling with papier-m?ché, butcher paper provides the durability and flexibility necessary for your crafting success.
Essential Tools and Supplies for Butcher Paper Crafts
To start with butcher paper for crafts, you’ll need certain tools and supplies. Here’s what is essential:
- Scissors and Cutting Tools: Sharp scissors are a must for cutting butcher paper neatly. For more intricate shapes, craft knives or box cutters can be useful.
- Adhesives: Glue sticks, tape, or double-sided tape will help adhere your butcher paper creations. For stronger bonds, consider using glue guns or spray adhesives.
- Writing and Coloring Instruments: Markers, crayons, colored pencils, and paints allow for vibrant designs. Choose non-toxic options if crafting with kids.
- Rulers and Straight Edges: These ensure your cuts and folds are precise. They are crucial for projects requiring straight lines.
- Decorative Items: Stickers, stamps, sequins, and ribbons can add flair to your butcher paper crafts. Use them to embellish and personalize your work.
- Protective Coverings: Place mats or drop cloths can keep your workspace clean. They catch spills or excess materials when painting or gluing.
- Brushes and Sponges: These apply paint or ink to butcher paper. Pick various sizes to create different textures and effects.
Gathering these items before beginning a project will make the crafting experience smoother and more enjoyable. Stick to the project at hand and choose your tools accordingly. For instance, if you are making banners, a long ruler and sharp cutting tools will be key. Always prioritize safety, especially when using sharp tools or hot adhesives.
Step-by-Step Guide to Making Butcher Paper Banners
Creating banners with butcher paper for crafts is simple, fun, and immensely rewarding. Here’s a step-by-step guide that will help you make striking banners for any occasion.
Choose Your Butcher Paper
First, pick the type of butcher paper that suits your project. Plain or colored butcher paper works well for banners. The size depends on where you’ll display it.
Gather Your Supplies
You’ll need sharp scissors, a long ruler, markers or paints, and adhesive tape or glue. Get your decorative items ready too.
Design Your Banner
Plan your design on a sketch pad. Keep your message clear and your graphics simple. Think about the theme and color scheme.
Cut Your Paper to Size
Use your ruler and scissors to cut the butcher paper to your desired length. Straight, even cuts make your banner look professional.
Mark Your Design
Lightly sketch your design onto the butcher paper. Use a pencil so you can erase mistakes easily.
Decorate with Colors and Accessories
Color in your designs with markers or paints. Attach any additional decorative elements such as ribbons or stickers.
Add Lettering
Write your message on the banner. Make sure the letters are big and bold so they’re easy to read from a distance.
Assemble and Hang
Once your design is complete and dry, secure the ends using tape or glue. Attach string or twine if you’re hanging it up.
Display Your Banner
Find the perfect spot to showcase your work. Make sure it’s visible and complements the surrounding area.
Creating banners with butcher paper for crafts is a versatile way to announce events, celebrate milestones, or simply add some personalized decor to your space. By following these steps, you can craft a stunning banner that gets your message across with style.
How to Create Custom Gift Wrap with Butcher Paper
Transform simple gifts into unique presentations with butcher paper for crafts. Custom gift wrapping is easy and allows for endless creativity. Follow these steps to wrap your gifts in a personalized way.
Pick the Right Butcher Paper
Choose plain or colored butcher paper depending on the occasion. Consider the gift’s size when selecting your paper.
Gather Decorating Supplies
Collect markers, stamps, and stickers. Have ribbons and twine ready for the final touches.
Measure and Cut the Paper
Lay out the butcher paper. Place the gift on top. Cut enough paper to cover the item completely.
Fold and Secure the Edges
Wrap the gift as you would with regular paper. Use tape or glue sticks to hold edges in place.
Add Decorative Elements
Decorate with drawings, patterns, or stamps. Personalize with a handwritten note or doodles.
Attach Ribbon or Twine
Tie the gift with ribbon or twine. This adds charm and secures the wrapping.
Label Your Gift
Make tags from leftover pieces of butcher paper. Write the recipient’s name for a finishing touch.
Creating custom gift wrap with butcher paper for crafts gives a personal feel to your presents. It’s not only thoughtful but also an eco-friendly option compared to store-bought wrapping paper.
Crafting Handmade Butcher Paper Cards and Tags
Handmade cards and tags add a personal touch to any gift or event. With butcher paper for crafts, creating custom cards and tags is both fun and simple. Follow these steps to craft unique pieces that will stand out.
Choose Your Butcher Paper
Select the right type of butcher paper. Colored butcher paper adds a pop of color, while plain butcher paper offers a classic look.
Design Your Card or Tag
Decide on a shape and size. Use stencils or freehand your design. Keep it simple.
Cut and Fold
Use sharp scissors to cut your card or tag to size. Fold neatly if making a card.
Decorate with Personality
Use markers, stamps, or paint to decorate. Stick to a theme or color scheme.
Write a Message
Pen a heartfelt note or label. Use clear handwriting or calligraphy for elegance.
Finish with Embellishments
Attach ribbons or stickers for flair. Make sure they complement your design.
Handmade butcher paper cards and tags show effort and creativity. They can be adapted for holidays, birthdays, or thank-you notes. Plus, they’re cost-effective and better for the environment than many store-bought options. With some basic tools and your imagination, you can create beautiful pieces that recipients will treasure. Remember to have fun and let your creativity flow!
Fun and Educational Butcher Paper Activities for Kids
Butcher paper is not just for craft experts – it’s perfect for kids’ activities too. Crafting with butcher paper can be both fun and educational for children. Here are some engaging activities kids will love:
Create a Giant Coloring Page
Let kids unleash their creativity on a large piece of butcher paper spread on the floor. They can draw their own landscapes or scenes, or outline a picture for them to color in.
Construct a DIY Puzzle
Cut butcher paper into pieces to form a puzzle. Have children draw and color a picture on it, then mix the pieces up for them to reassemble.
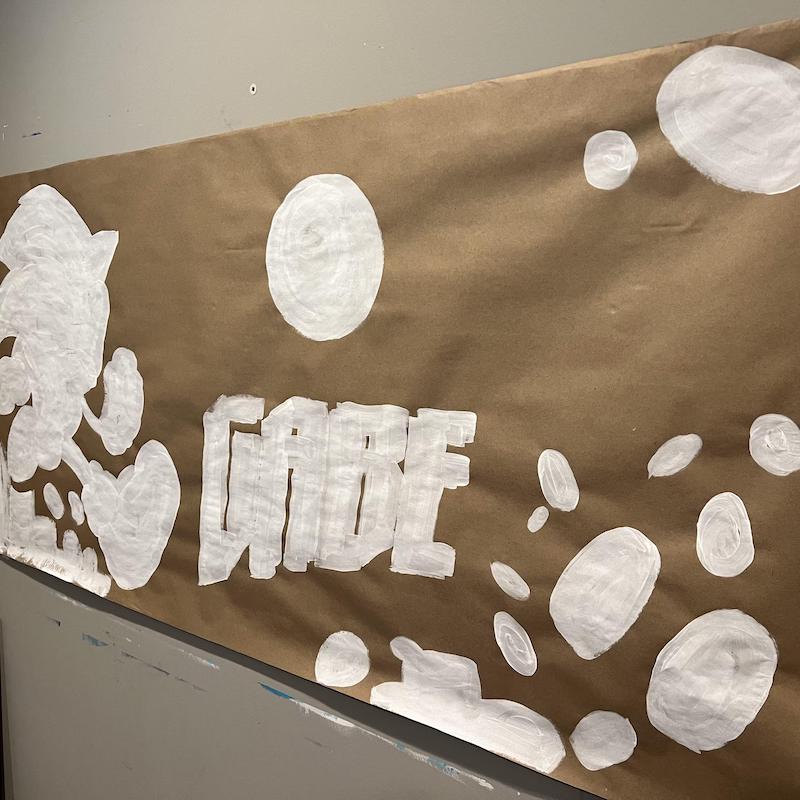
Practice Letter and Number Writing
Butcher paper provides plenty of space for children to practice writing their ABCs and 123s. It’s a great way to make learning writing fun.
Make a Butcher Paper Town
Kids can design and create their own town on butcher paper. Add roads, buildings, and trees, and use toy cars and figures to bring it to life.
Trace Body Outlines
Have the child lay down on the butcher paper and trace their outline. They can then draw in facial features, clothes, and more. It’s fun and helps with body awareness.
Design a Room
Children interested in decorating can plan their dream room on butcher paper. They can add furniture, color walls, and decorate with stickers.
Butcher paper is an amazing resource for kids’ crafting. These activities not only entertain but also help to develop fine motor skills, hand-eye coordination, and creativity. Plus, it’s a fantastic way for families to spend quality time together.
Tips for Preserving and Displaying Butcher Paper Art
Creating art with butcher paper for crafts is just the beginning. Preserving and displaying your pieces is crucial for long-lasting enjoyment. Here are simple, practical tips to keep your creations in great shape.
Handle with Care
Always handle butcher paper art gently. Oils and moisture from your hands can affect the paper’s quality. Use clean, dry hands or wear cotton gloves for extra protection.
Protect from Sunlight
Sunlight can fade colors quickly. Hang your art away from direct sunlight. Use UV-protective frames or glass to shield it.
Avoid Moisture
Moisture can cause butcher paper to warp or mold. Keep art in a dry place. If needed, use a dehumidifier in humid environments.
Use Proper Mounting Techniques
Mount your art carefully. Use acid-free tape and avoid using too much glue, which can seep through butcher paper. Consider matting your piece before framing for a professional look.
Choose the Right Frame
A good frame does more than look nice. It protects your artwork. Pick a frame that fits well and complements your piece. Ensure it is sturdy and well-crafted.
Store Safely
For unframed art, store flat in a dry, cool area. Use acid-free paper to separate pieces. Avoid rolling, which can create creases.
By following these tips, your butcher paper crafts can brighten up your home or workspace while remaining vibrant for years to come. Remember to care for each piece with attention to detail, and it will continue to bring joy to any space.