Simple Origami Techniques for Beginners
Origami, the Japanese art of paper folding, is a perfect way to start with easy crafts to do at home with paper. Even beginners can create beautiful designs. Here are some techniques to get you started on your paper crafting journey.
Start with Basic Shapes
Begin by mastering simple shapes like squares, triangles, and rectangles. These shapes form the foundation for more complex models. Practice folding these basic shapes accurately to ensure cleaner and more precise final pieces.
Follow Step-by-Step Guides
Look for step-by-step origami guides, which are widely available in books or online. These guides provide clear instructions and visual aids to help you understand each fold. Stick to beginner-friendly projects like the classic paper crane or a simple box to build your skills.
Use the Right Paper
Selecting the proper paper is crucial. Origami paper, also known as ‘kami’, is lightweight and comes in various colors. Its thinness makes it easy to fold without quickly becoming too bulky or tearing. For beginners, larger sheets might be easier to handle.
Master Creasing and Folding
Good creasing and folding are key to successful origami. Always make sure to crease your folds sharply for a more polished look. Use the side of a thumbnail or a bone folder to make strong creases. Take your time with each fold to avoid mistakes.
Practice Patience
Like any skill, origami takes time to learn. Don’t rush the process. Expect a learning curve, and don’t be discouraged by initial mistakes. With patience and practice, you’ll see your folding techniques improve significantly.
By incorporating these simple origami techniques, you can start enjoying the world of paper crafts right in the comfort of your home. It’s not just about keeping busy; it’s about cultivating patience, precision, and creativity through the simple act of folding paper.

DIY Paper Decoration Ideas for Your Living Room
Transform your living room with these DIY paper decoration ideas. Easy crafts to do at home with paper can add a personal touch and warmth to any living space. Here’s how you can get creative.
Create a Paper Garland
String together colorful paper shapes like stars, hearts, or geometric designs. You can hang them across a window or wall. Use sturdy string and adhesive to keep your designs in place.
Design Custom Lampshades
Wrap lampshades with decorative paper. Choose patterns that complement your decor. Ensure to use safe adhesives that won’t be a fire hazard.
Make a Photo Collage
Cut out paper frames for your favorite photos. Arrange them on a wall to tell a story. This can be a fun way to display memories and art.
Craft a Wall Mural
Use large sheets of paper to create a mural design. Bring a large-scale art piece to life without a huge expense. Use paints or markers for added color.
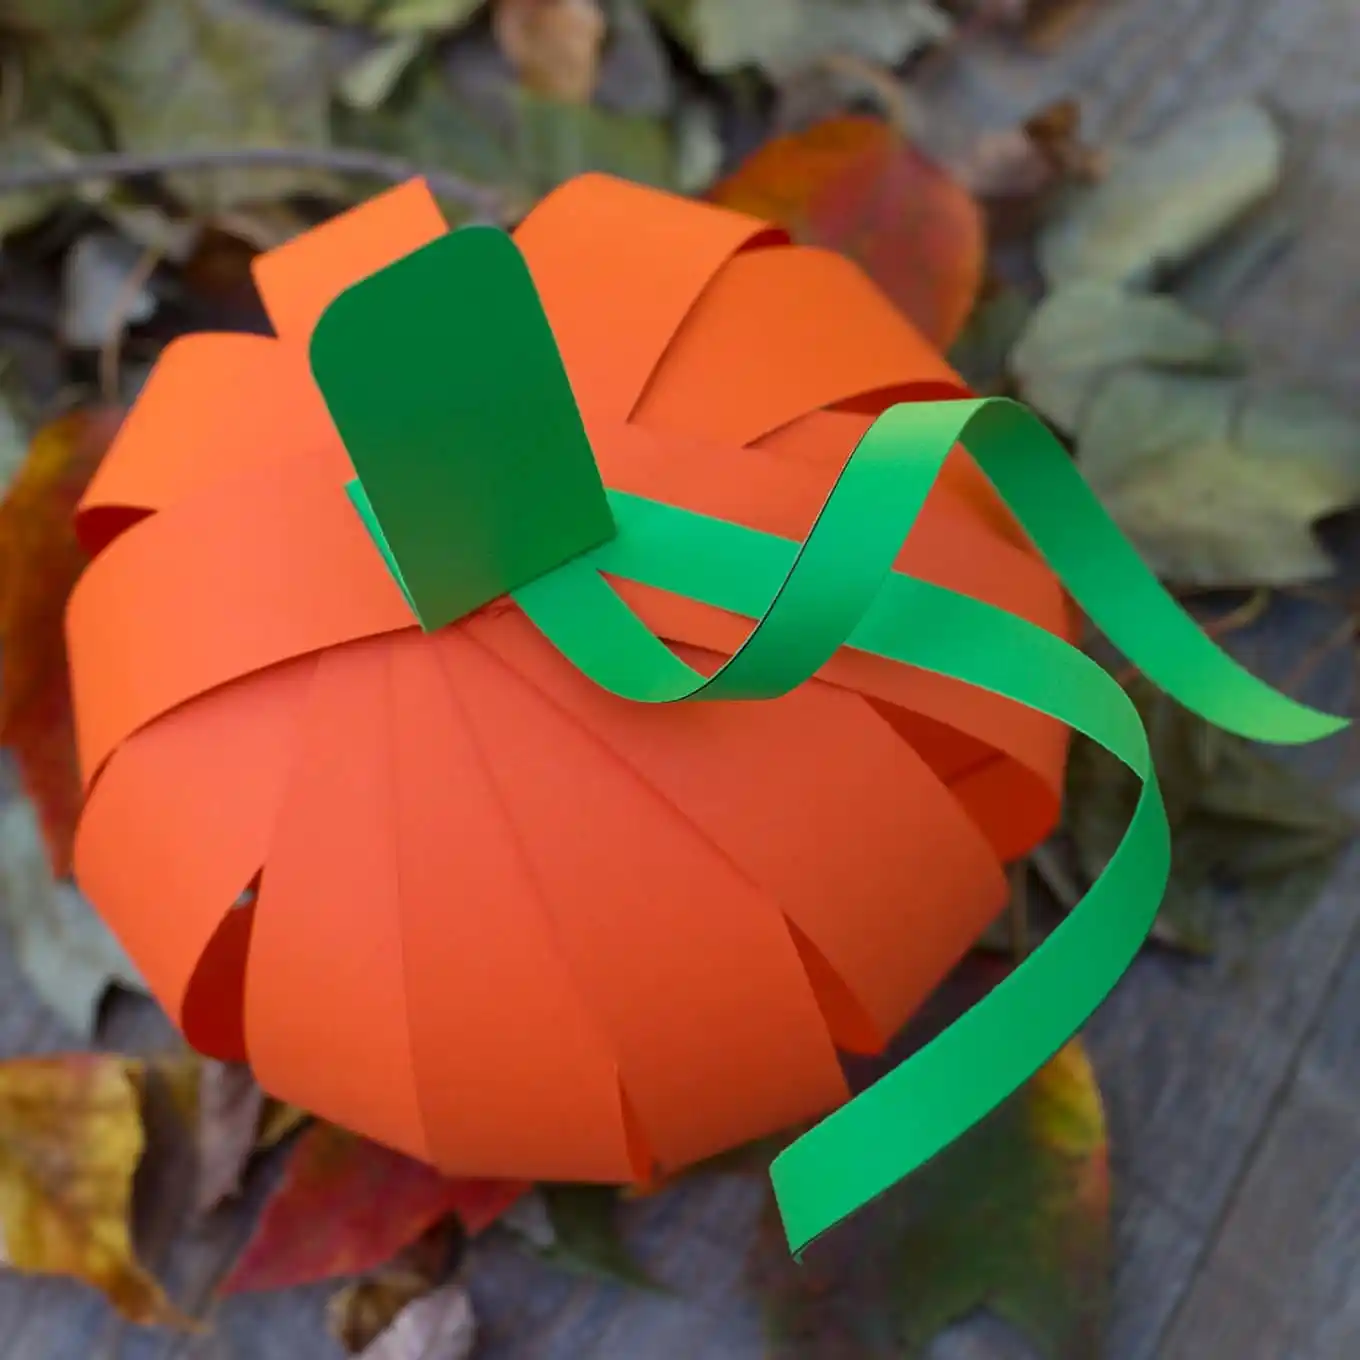
Origami Flower Arrangements
Fold paper into flowers for a bouquet that never wilts. Place them in a vase for a centerpiece. Try different flower designs for variety.
Paper Chain Rugs
Link paper strips to create a unique rug. Laminate for durability. This can be an interesting conversation piece.
With these simple projects, you can redesign your living room using materials you likely already have at hand. Get creative with colors and patterns to match your style and make your living space truly your own.
Creative Scrapbooking Tips and Tricks
Scrapbooking is a delightful way to preserve memories. Use the following tips to create stunning scrapbooks with ease.
Select a Theme
Choose a theme to give your scrapbook direction. It could be a vacation, a season, or a special event.
Organize Your Materials
Gather all your materials beforehand. Include photos, stickers, and patterned paper. This saves time later.
Mix and Match Paper Textures
Combine different textures of paper for a tactile experience. Use glossy, matte, and embossed papers.
Personalize with Handwriting
Add personal touches with your own handwriting. It makes your scrapbook more intimate.
Crop Photos Creatively
Crop photos in various shapes to add interest. Try circles, hearts, or even zig-zags.
Use Layering
Layer paper, photos, and embellishments. It creates depth and makes elements pop.
Incorporate Memorabilia
Paste in tickets, brochures, and other keepsakes. This adds authenticity to your scrapbook.
Experiment with Borders
Create borders around pages or photos. Use washi tape, stickers, or even your own drawings.
Date and Describe
Don’t forget to label the dates and add brief descriptions. This adds context to your memories.
Protect Your Pages
Use clear sheet protectors to keep your pages safe from wear and tear.
With these tips, start turning your collection of memories into a beautiful and organized scrapbook. Remember to have fun while crafting, and let your creativity flow.
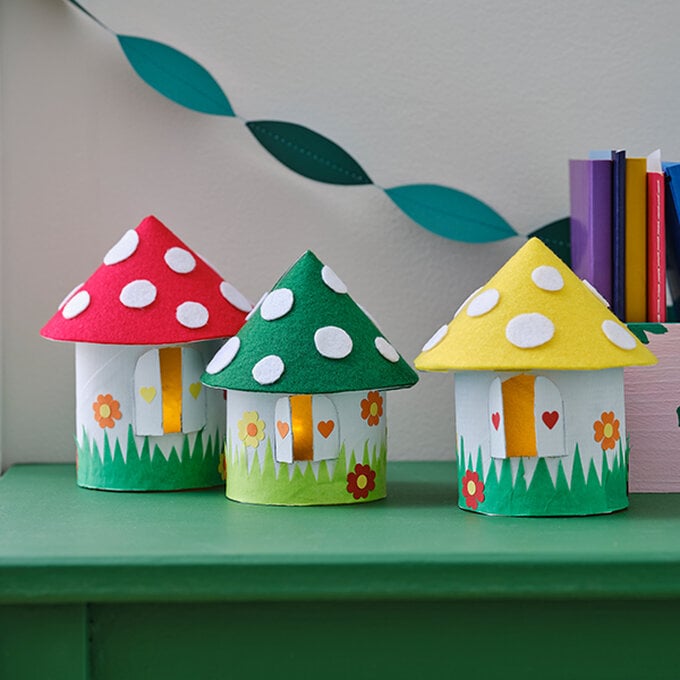
Eco-Friendly Paper Toys for Kids
Crafting eco-friendly paper toys is a delightful way to engage kids in creative play. Simple materials like paper can transform into fun, educational, and sustainable toys. Here’s how you can create eco-friendly playthings with just paper.
Choose Recyclable Papers
Opt for recyclable papers to make toys. This choice supports sustainability and teaches children about recycling.
Design Simple Puzzles
Create easy puzzles from paper. Cut shapes that fit together to encourage problem-solving skills.
Build Paper Airplanes
Folding paper airplanes is a classic activity. Kids learn about aerodynamics while having fun.
Make Animal Masks
Craft animal masks from paper plates. This spurs imagination and creative role-playing.
Construct a Cardboard Fort
Use large cardboard boxes to build a fort. It’s a great project for family fun.
Develop Educational Games
Devise paper-based educational games. They are perfect for learning through play.
Create Finger Puppets
Finger puppets from paper can inspire storytelling. Kids can put on their own puppet shows.
By making these eco-friendly paper toys, you cultivate creativity and responsibility in children. Using easy crafts to do at home with paper encourages them to think about the environment while providing endless hours of play.
Handcrafted Paper Greeting Cards for Every Occasion
Handcrafted paper greeting cards add a special touch to any occasion. With simple materials, you can create personalized messages that showcase your creativity and care. Here’s how to make your own paper greeting cards for different events.
Choose High-Quality Paper Stock
Selecting the right paper stock is crucial. Choose heavier card stock for a sturdy feel. This will make your cards look professional and elegant.
Design Your Layout
Plan the card design before you start. Sketch a layout on a scrap piece of paper. Include spaces for images and text.
Keep It Simple
A simple design often makes a bigger impact. Use clean lines and minimalistic elements to focus on the message.
Add Personalized Details
Personal details make a card memorable. Add hand-written notes or doodles. They add a unique touch.
Experiment with Colors and Textures
Mix up colors and textures for visual interest. Try layering different papers or adding a ribbon.
Use Stamps and Stencils
Stamps and stencils help create consistent designs. They are also great time-savers for making multiple cards.
Write a Heartfelt Message
The message inside your card is key. Take the time to write something thoughtful that fits the occasion.
Practice Eco-Friendly Techniques
Where possible, use recycled paper or scraps from other projects. It’s eco-friendly and cost-effective.
Crafting paper greeting cards can be a rewarding hobby. You can tailor your design to fit birthdays, holidays, or ‘just because’ moments. The personal touch of a handcrafted card can mean more than any store-bought alternative. Grab some paper and let your creativity shine!
Ingenious Paper Storage Solutions
Finding clever ways to store paper can help keep your home tidy and organized. Let’s explore some ingenious storage solutions that are both easy to create and functional.
Utilize Vertical Space
Make use of wall space with hanging organizers or floating shelves. This keeps paper supplies within reach without cluttering your workspace.
Recycle Shoe Boxes
Turn shoe boxes into stylish storage by wrapping them in decorative paper. These can be stacked on shelves or tucked under a desk.
Binder Clips and Pegboards
Attach binder clips to a pegboard to hold loose papers or project pieces. This system allows for easy access and customizable organization.
Accordion Files for Documents
Use accordion files to categorize important documents. Label each section for quick retrieval.
Magazine Holders for Craft Paper
Stand craft paper upright in magazine holders. This keeps sheets visible and prevents crumpling.
Desk Organizers
Invest in or create your own desk organizers for paper clips, notepads, and envelopes. Keeping small items sorted will streamline your paper crafting process.
Mason Jars for Twine and Ribbons
Store twine and ribbons in mason jars. They can be easily seen, and the jars add a decorative touch to your craft area.
Implementing these paper storage solutions will not only help you find what you need when you need it but also turn your crafting space into a showcase of organization and style. Embrace these easy crafts to do at home with paper to create a place for every piece and keep your creative space uncluttered.

Customized Paper Wall Art to Brighten Your Home
Adding personalized touches to your home decor creates a welcoming and vibrant atmosphere. One of the simplest yet most impactful ways to achieve this is with customized paper wall art. Easy crafts to do at home with paper include making artwork that reflects your taste and personality. Here’s how you can get started:
Select Your Design
Start by choosing a design that you love. It could be a favorite quote, a silhouette of a skyline, or an abstract geometric pattern. Consider the color scheme of your room to ensure your art complements it.
Gather Materials
You will need cardstock, scrapbooking paper, or any other paper suitable for the wall art. Collect scissors, glue, and possibly a frame to complete your project.
Cut and Assemble
Trace your design onto paper and carefully cut it out. Layer different colors and textures of paper to add depth. Glue your pieces onto a backing that fits into a frame.
Personalize Your Artwork
Add elements that are unique to you, like a personal doodle or handwritten note. Incorporate special paper, like one from a memorable event, for a more sentimental piece.
Display with Pride
Place your finished artwork in a frame and hang it on the wall. Alternatively, use removable adhesive strips for a damage-free way to showcase your creation.
Creating paper wall art is not only a fun activity but also a method to make your space more ‘you’. With paper, scissors, and a bit of imagination, you can fill your home with art that is both beautiful and meaningful.
Upcycling: Transforming Old Paper into New Treasures
Upcycling old paper is an exciting way to reuse and repurpose materials. Here are some easy crafts to do at home with paper that you might otherwise throw away.
Create New Notebooks from Scrap Papers
Gather loose papers and bind them into a new notebook. Use a simple stitch or glue along the edge.
Craft Custom Envelopes
Turn magazine pages or old maps into colorful envelopes. Trace a template and seal with glue.
Origami Bookmarks
Fold old book pages into origami bookmarks. Choose shapes like hearts or animals for fun.
Paper Mache Bowls
Mix glue and water to make a paste. Dip strips of old paper and layer over a mold. Let it dry for a unique bowl.
Decorative Paper Beads
Cut strips from glossy magazines. Roll them tightly around a straw, glue the end, and thread them into jewelry.
Wallpaper Scraps for Drawer Liners
Use leftover wallpaper to line drawers or shelves. It adds an unexpected pop of color and pattern.
Papercraft Collage Art
Cut out images and texts from old papers. Arrange them on a canvas for a personalized collage.
Handmade Paper from Paper Scraps
Blend paper scraps with water. Pour the mixture onto a screen and let it dry to make your own paper.
By embracing these upcycling ideas, not only do you reduce waste, but you also gain unique and personalized items. From practical notebook crafts to decorative touches, the possibilities are endless.