Introduction to DIY Paper Crafts
DIY paper crafts offer a world of creativity and fun. They are perfect for anyone looking to dive into the craft world. Utilizing paper, a versatile and accessible material, these crafts range from simple to intricate. You can make beautiful decorations, unique gifts, or even practical items for your home. Beginners find diy paper crafts inviting because they often require basic tools. Plus, paper crafts can be a soothing hobby. They improve focus and unleash artistic skills. Whether you have a spare hour or a whole weekend, there’s a paper project for you. Let’s begin our journey into the crafty realm of paper.
Essential Tools and Materials for Paper Crafting
To dive into diy paper crafts, you’ll need some basic tools and materials. Here’s a list to get you started:
- Scissors: A sharp pair of scissors is a must-have for cutting paper cleanly and precisely.
- Craft Knife: For more intricate cuts, a craft knife can offer more control.
- Cutting Mat: Protect your surfaces with a cutting mat. It also helps in achieving precise cuts.
- Ruler: A clear ruler is essential for measuring and creating straight lines.
- Glue: Stick your creations together with glue. Options include white glue, glue sticks, or double-sided tape.
- Bone Folder: This tool helps create sharp folds without damaging the paper.
- Paper: Of course, assorted paper is the star of the show. Stock up on a variety of colors, textures, and weights.
- Pencil and Eraser: For sketching designs and correcting any planning marks.
These tools form the foundation of your paper crafting kit. With them, you’re ready to explore simple paper craft ideas that are perfect for beginners.
Simple Paper Craft Ideas for Beginners
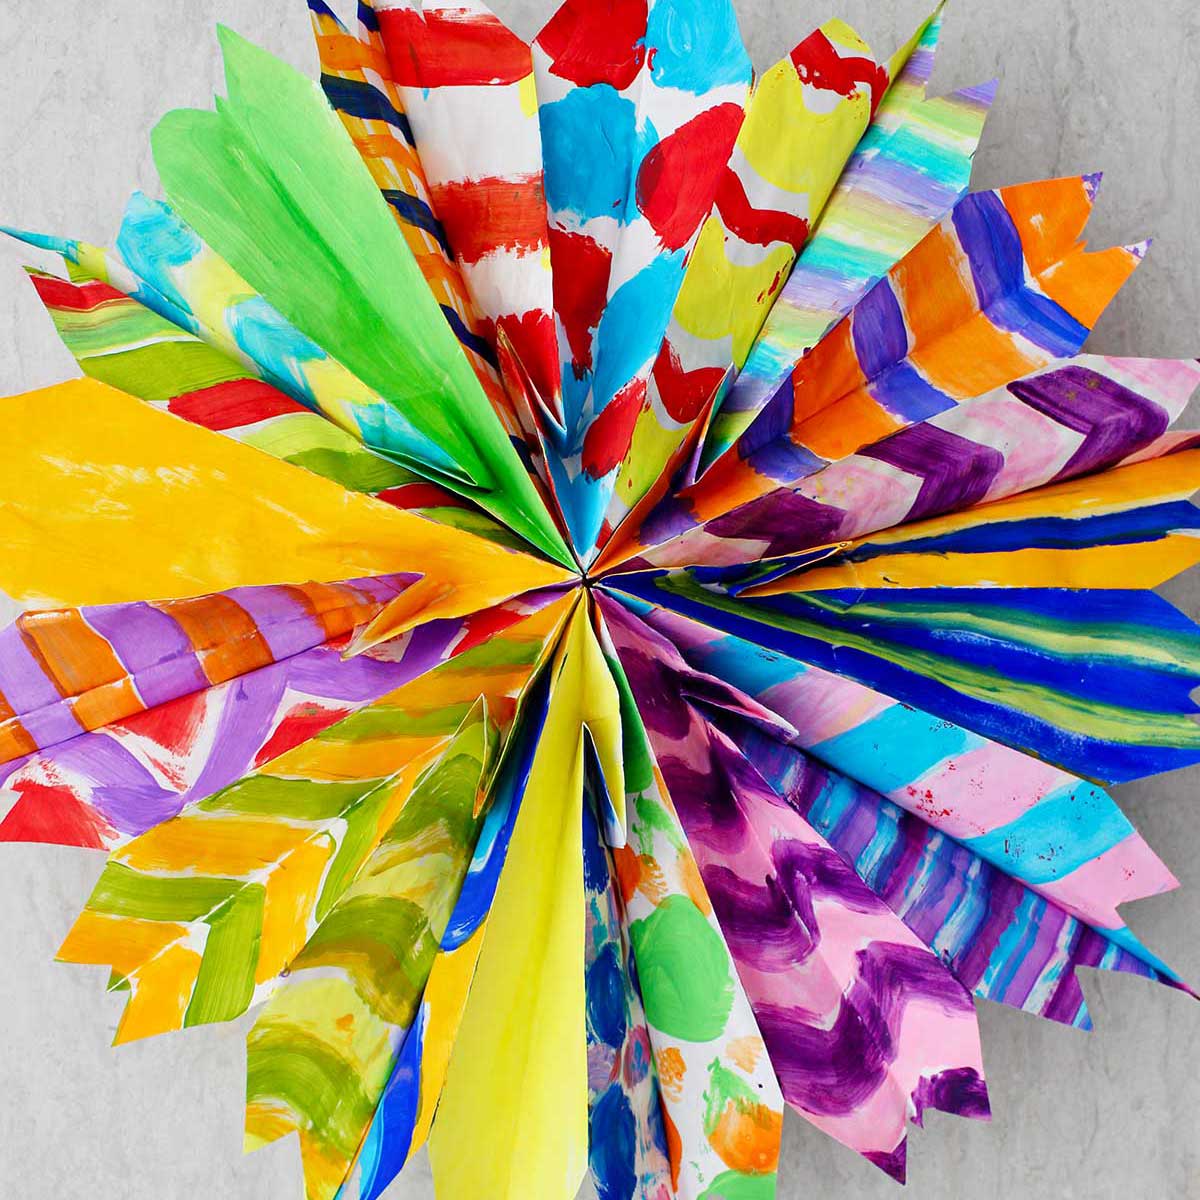
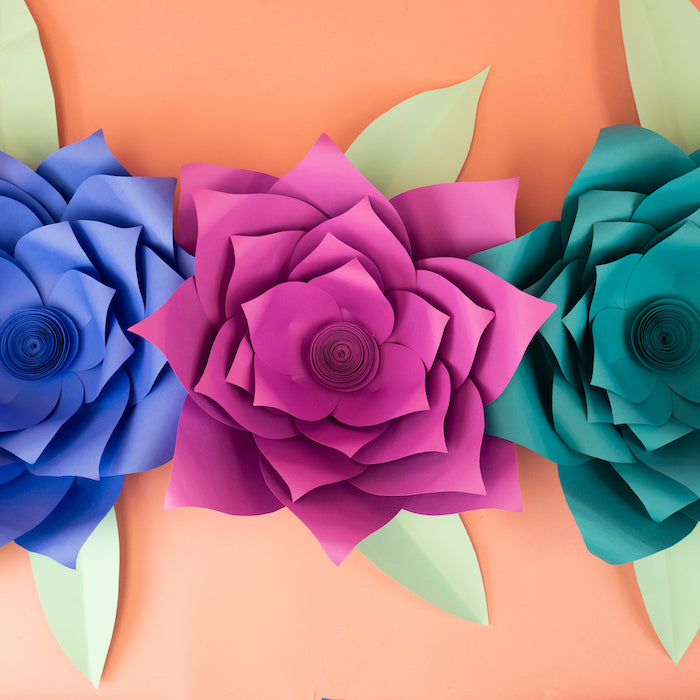
Embarking on the journey of DIY paper crafts does not require complex skills. Here are simple ideas that any beginner can tackle with ease. First, we have Paper Flowers, which bring a touch of nature indoors without the upkeep. They can brighten up any space. Next, try Paper Bookmarks. Personalize them with drawings or quotes and keep your place in style. Paper Garlands are great too. String together colorful shapes to decorate for a party or to simply add cheer to your room. Then there is the ever-popular Paper Greeting Cards. Create heartfelt messages and custom designs for friends and family. Lastly, let’s not forget about Origami Animals. These require minimal tools – just fold and create! Paper is pliable, forgiving, and incredibly versatile, making these crafts fun for all ages and skill levels. With the essential tools from earlier, anyone can begin these simple diy paper crafts projects.
Step-by-Step Guide for Making Origami Art
Origami is the Japanese art of paper folding. It turns a simple sheet of paper into intricate designs. Making origami art is a calming and rewarding hobby. It requires precision, but no cutting or gluing. Here’s a basic guide to start your origami adventures:
- Choose the Right Paper: Origami paper is usually square and comes in various colors and patterns. Use lightweight paper for easier folding.
- Understand the Basics: Familiarize yourself with the basic folds. These include the valley fold, mountain fold, and crease fold. Look at diagrams for help.
- Start with Simple Shapes: Begin with simple designs like the classic origami crane or a paper boat. Follow step-by-step instructions to avoid confusion.
- Fold Precisely: Be accurate with your folds. Use a bone folder for crisp edges. Align the corners and edges well to ensure symmetry.
- Practice: Origami takes practice to master. Start over if needed and don’t rush. Each fold gets you closer to perfection.
- Explore More Designs: Once you’re confident, try more complex patterns. Challenge yourself with animals, flowers, or geometric shapes.
- Display Your Art: Show off your creations. Use them as decorations or gifts.
Start your DIY paper crafts journey with these origami steps. Each creation enhances your skill. Enjoy the art of transforming paper into beautiful pieces. Happy folding!

Crafting with Paper Mache: Basics for Starters
Paper mache is an engaging craft for beginners. It involves using strips of paper and glue or paste. These combine to form sculptures and objects. Many enjoy paper mache as it’s easy to learn and requires simple materials.
Here’s how to get started with paper mache:
- Prepare Your Materials: Gather newspaper, glue, water, and a mixing bowl. You’ll also need a surface to work on and a form for your shape, like a balloon.
- Make the Paste: You can mix one part flour with two parts water. Or, use a glue mixture with equal parts of water and white glue.
- Tear the Paper: Rip newspaper into strips. Small sizes work best to cover forms smoothly.
- Dip and Layer: Dip strips into the paste. Then, cover your form with overlapping layers. Smooth out bubbles and excess paste with your fingers or a brush.
- Let it Dry: Allow your creation to dry completely. It might take a few hours to a day, depending on the size.
- Paint and Decorate: Once dry, paint your paper mache project. Use bold colors and patterns. Add details with paint, markers, or glued-on decorations.
Remember, diy paper crafts like paper mache take practice. Don’t worry if it’s not perfect the first time. Each project helps you learn and improve your skills.
DIY Greeting Cards and Handmade Invitations
Creating DIY greeting cards and handmade invitations is a heartfelt way to show you care. It’s personal and adds a touch of your unique style. Let’s explore the process of making these paper crafts.
Choose Your Paper and Tools
Start with selecting the right kind of paper. Textured, colored, or patterned paper can give your card or invitation a special feel. You will need your basic paper crafting tools from our earlier list. Make sure your scissors are sharp for clean cuts.
Design and Layout
Next, think about your design. Do you want something simple or more artistic? Pencil in your layout on a piece of paper. This will be your guide. Use a ruler to make sure your lines are straight.
Add Personal Touches
The beauty of diy paper crafts is the personal touch. Use stamps, stickers, or draw your own images. Write your messages by hand. This adds warmth that typed text can’t match.
Fold and Decorate
Fold your paper to create the card structure. Embellish with ribbons, glitter, or buttons for a decorative touch. Remember, less is often more. Don’t overcrowd your card.
Addressing and Sending
Finish by writing the address clearly on the envelop. If it’s an invitation, include all the vital information. This means the date, time, and place.
Handmade cards and invitations bring joy to both maker and receiver. They are special because they are made with love. Give it a try and see the smiles they bring.
Tips for Decorating with Paper Crafts
Decorating with paper crafts adds charm and personality to any space. Here’s how to enhance your decor with DIY paper creations:
- Plan Your Theme: Decide on a theme or color scheme for your paper crafts. This helps create a cohesive look.
- Vary the Sizes: Mix up the sizes of your paper decorations. Combine large paper flowers with smaller ones for a dynamic effect.
- Create a Focal Point: Use a large paper craft, like a wall art piece, as an eye-catching focal point.
- Balance Your Space: Distribute your paper crafts evenly. Avoid clustering in one area. Spread them out for balance.
- Layer Your Decor: Add depth by layering paper crafts. Place some items in front and others behind.
- Illuminate with Lights: String lights can make paper lanterns glow. This warm light brings a cozy feel.
- Seasonal Changes: Swap out paper decor with the seasons. Use bright colors for spring and deeper tones for fall.
- Personalize Your Space: Incorporate your own designs or patterns into the paper crafts to reflect your personality.
Remember, creating a welcoming environment with diy paper crafts is about fun and expression. Treat your space as a canvas and your paper crafts as the paint. Enjoy the process of designing, making, and arranging your paper masterpieces!

Creative Upcycling: Making Crafts from Recycled Paper
One of the most rewarding aspects of diy paper crafts is the ability to upcycle. Upcycling involves transforming waste materials into new, useful products. This not only sparks creativity but also promotes environmental sustainability. To begin with recycled paper crafting, here’s a quick guide to get you started.
- Collect Recycled Paper: Start by gathering newspapers, old books, magazines, or any waste paper products. This is your raw material.
- Choose a Project: Decide what you wish to create. Ideas include recycled paper baskets, coasters, or decorative bowls.
- Prepare the Paper: Shred or tear your paper into strips or pieces. This preps it for molding into your craft.
- Create Your Paste: Mix white glue with water or make a flour and water paste. This will bind your paper pieces.
- Shape and Form: Use molds or freehand techniques to shape your craft. Apply the wet paper and paste layer by layer.
- Dry Thoroughly: Allow your creation to dry completely. Larger projects may need more time to set.
- Decorate: Paint or accessorize your craft. Be inventive and make it your own.
- Display or Use: Now that your craft is ready, put it on show or find a practical use for it.
Recycled paper crafts serve a dual purpose. They unleash your artistic talents while saving paper from the waste stream. So, fold, cut, glue, and shape. Watch waste paper turn into treasures as you master the art of upcycling.