DIY Paper Jack-o’-Lanterns
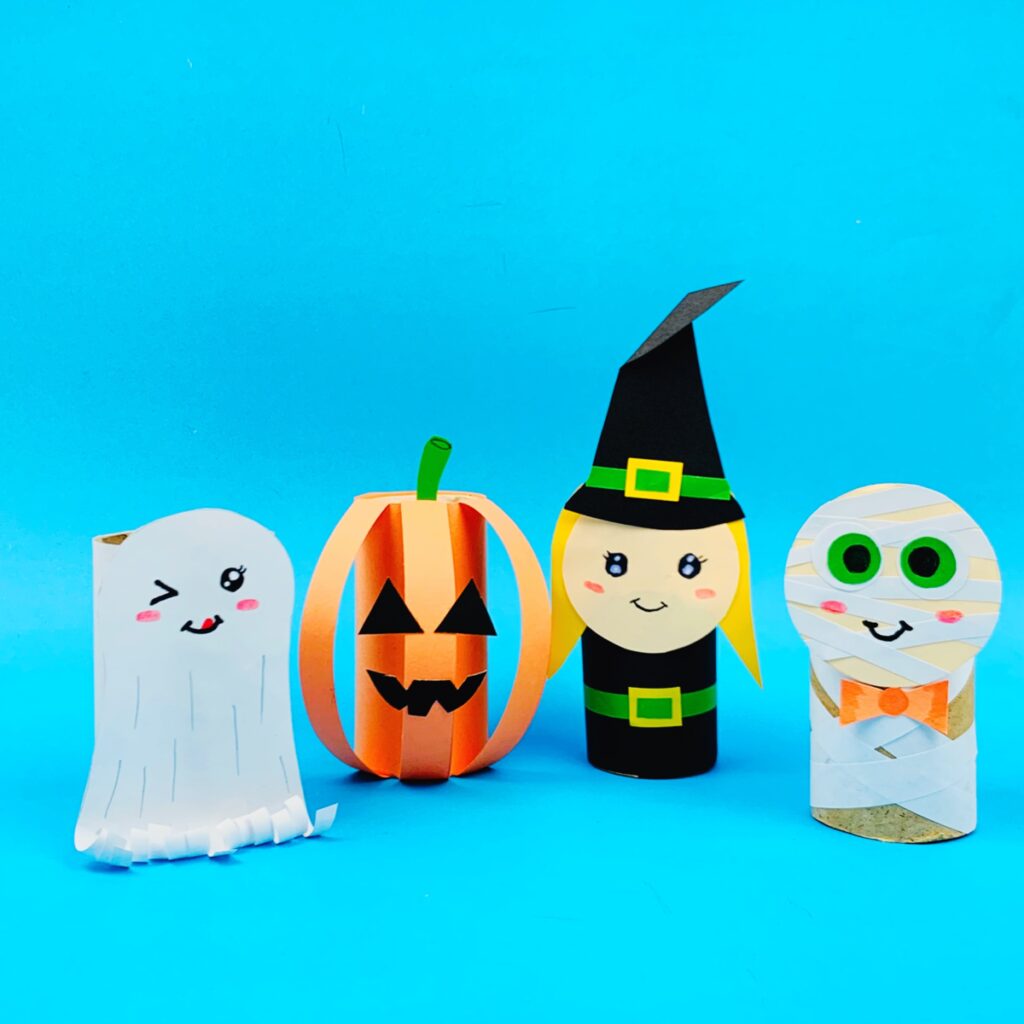
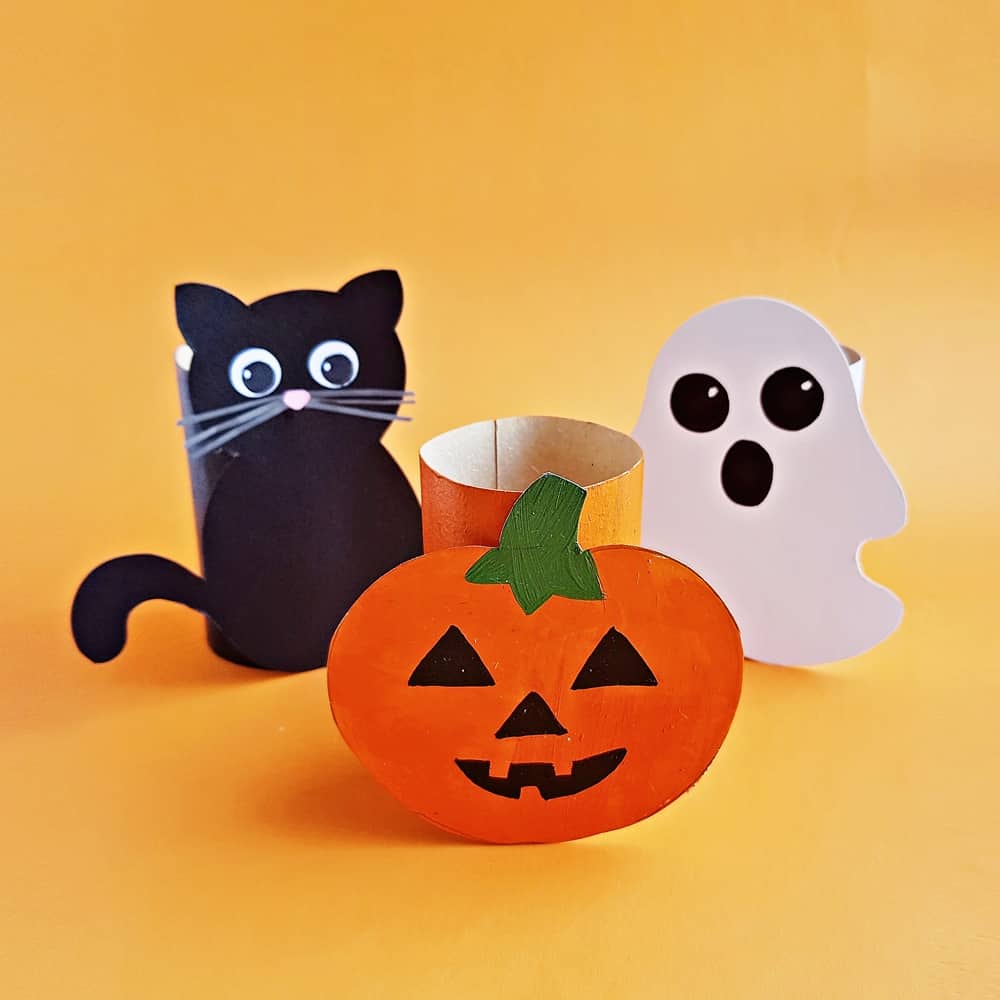
Nothing screams Halloween like the classic Jack-o’-lantern. Let’s make them with paper! Start by picking out some orange construction paper. This will be the body of your lantern. Next, fold the paper in half and draw the face of your lantern. Think triangle eyes and a jagged mouth. Cut out these shapes. Now, grab a green paper strip, twist it, and attach it on top. This is your stem. Glue a second sheet of paper behind the face. Make sure this sheet is a lighter color. It should shine through the face. Then, tape or staple the edges to form a cylinder. Your paper Jack-o’-lantern is ready to brighten up any corner.
For an extra touch, add LED tea lights inside. This way, they glow just like real pumpkins. Remember not to use real candles; we’re working with paper! With these paper Halloween crafts, you’re all set for a spooky ambiance at home. Have fun crafting!
Creepy Paper Mache Ghosts
Capture the essence of Halloween with ghoulishly delightful paper mache ghosts. First, create a simple frame. Use balloons for the body and cardboard or wire for limbs. Next, prepare your paper mache mix. Combine water, flour, and a bit of salt to prevent mold. Tear strips of white newspaper or tissue paper. Dip each strip into the mixture. Layer the strips over your frame. Cover it fully for a solid ghost or partially for a see-through look. Allow it to dry completely; this may take a few hours.
Once dry, pop the balloons (if used) and remove the frame if needed. Now comes the fun part – painting and customizing! Use black paint for hollow eyes and a mouth, creating a haunting appearance. For a floating effect, attach a clear thread to your ghost and hang them around the house. These paper mache ghosts will provide a spine-tingling effect to your Halloween decorations. With paper Halloween crafts like these, you’re sure to spook and delight any visitor!
Haunted House Silhouettes
Transform your space into a creepy abode with haunted house silhouettes made of paper. These eerie silhouettes cast spine-chilling shadows and create an atmosphere of a house that spirits inhabit. First, choose a design. You can make simple houses with crooked windows or elaborate mansions with turrets and broken gates. Use black cardstock—it’s sturdy and gives the perfect shadow effect. Cut out the house shapes carefully. Pay special attention to the windows and doors; adding detailed cutouts here makes your silhouette more realistic.
If you feel artistic, add extra features like ghosts in the windows or a spooky tree beside the house. Then, place your silhouette against a wall and shine a light behind it. The shadow on the wall complements your paper Halloween crafts. Watch as visitors marvel at the haunted spectacle. These crafts are safe, fun, and suitable for crafters of all ages. Get creative, and don’t be afraid to improvise!
Bat and Spider Paper Chains
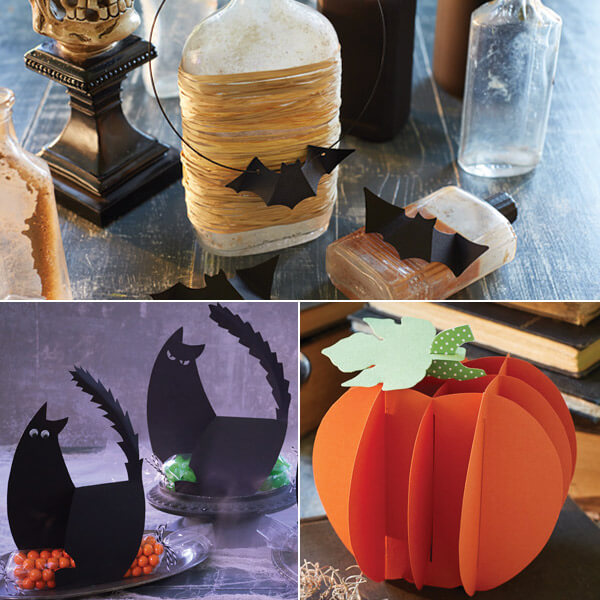
Creating bat and spider paper chains adds a fun, creepy twist to your Halloween decorations. This craft is easy to make and perfect for involving kids in the festive spirit. Start by choosing black or purple paper for bats and black or gray for spiders, which will enhance the spooky atmosphere. Here’s a simple way to do it:
- Cut your paper: First, fold your paper accordion-style. The folds should be the width of the bats or spiders you want.
- Draw the shape: On the top fold, draw a half bat or spider shape with the body at the fold. Keep it simple.
- Cut it out: While keeping the paper folded, cut along the lines. Be sure to leave the edge at the fold uncut.
- Unfold your chain: Carefully unfold the paper to reveal a chain of connected bats or spiders.
Hang these paper chains around doorways, windows, or walls to create a creepy-crawly atmosphere. You can even dangle them from the ceiling for a swarm effect. This Halloween craft idea is not only easy to make but also impactful. It brings the Halloween spirit to life and is perfect for parties or simply dressing up your home. Remember, paper Halloween crafts like these are all about creativity, so feel free to add your personal touch. Maybe use glitter, or glow-in-the-dark paint. With these bewitching paper decorations, your haunted house is now more captivating than ever!
Witchy Paper Hat Creations
Completing your paper Halloween crafts, construct witchy paper hat creations to top it all off. These hats work great as both wearable costumes and decorative elements around the house. You can make a witch hat with just a few simple steps:
- Cut your materials: Begin with black cardstock. Cut a wide circle for the brim and a triangle for the cone.
- Form the cone: Roll the triangle into a cone shape, and secure it with glue or tape.
- Attach the brim: Fix the cone to the center of the circle. Make sure it’s sturdy.
- Customize your hat: Get creative. Use purple or green paper strips as bands, or add paper buckles.
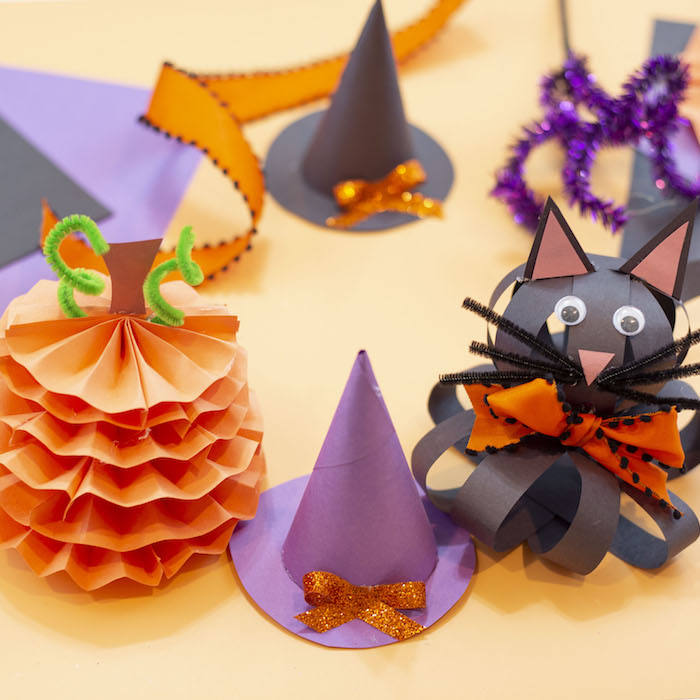
Display these hats with other paper halloween crafts, or prop them on pumpkins for an enchanted look. Craft several hats of different sizes. Create a tiny one for a whimsical feel. Feature these witchy paper hats at your next Halloween party, and watch guests delight in the handmade fun. For a special effect, use glow-in-the-dark paint along the rim or designs. Small flickering LED lights under the brim can make shadows dance, adding to the spellbinding atmosphere.
With these paper Halloween crafts, especially witch hats, your festivities will surely be a magical hit!
Eerie Paper Skeletons and Skulls
Paper Halloween crafts can extend to the more macabre with spooky paper skeletons and skulls. These eerie decorations can bring a fun yet bone-chilling touch to your Halloween decor. Here’s a simple guide to making your own:
- Select your paper: Choose white or off-white cardstock for a realistic bone color.
- Find a template: Search for a skeleton or skull template online. This will guide your cutting. Print it out.
Making a Simple Paper Skull
- Cut out the skull: Follow the template to cut out the skull shape from the cardstock.
- Draw details: Use a black marker to add the eyes, nose, and mouth. Make them dark and large.
- Create depth: For a 3D look, score along the sides of the skull and fold slightly.
Crafting Jointed Paper Skeletons
- Cut skeleton parts: Use your template to cut out each bone segment separately.
- Connect the bones: Use small brads or split pins at the joints. This allows movement.
- Hang your skeleton: Attach a string to the skull. Now your skeleton can dance with a spooky sway.
Use these paper skeletons and skulls to add an eerie theme to your Halloween party. Hiding them around corners can surprise guests with a harmless scare. Mix these in with other paper Halloween crafts for a full-fledged haunted house effect. Keep the designs simple and the activity becomes a great way to engage kids and adults alike in the holiday fun. Remember, getting your creative crafts is all part of the Halloween spirit!
Mysterious Origami Black Cats
Add a touch of mystery to your Halloween decor with origami black cats. Origami, the art of paper folding, can produce elegant and spooky decorations. Here’s how to create these feline features:
- Select your paper: Opt for black origami paper to embody the classic Halloween cat color.
- Find a simple cat origami tutorial: Search online for an easy-to-follow guide or video.
- Fold your cat: Carefully follow the steps to make a cat shape. Sharp creases make a cleaner look.
- Add details: Use a white pen to draw eyes and whiskers. This makes your cats come to life.
Place these origami black cats around your home. Sit them on shelves, or hide them in nooks. You can even create a scene with miniature pumpkins. These paper crafts are not just fun to make. They also add an air of mystery to your Halloween setting. Kids and adults alike will enjoy crafting these eerie paper companions. Remember to use keywords like ‘paper halloween crafts’ in your online search for tutorials. Have a spooktacular time folding!
Festive Paper Pumpkin Bunting
Bunting is a fantastic way to add festive flair to your Halloween decor. With paper pumpkin bunting, you create a garland that captures the spirit of the season. Here’s a step-by-step guide:
- Choose your paper: Pick out orange and green construction paper. These colors are ideal for pumpkins.
- Cut pumpkin shapes: From orange paper, cut out multiple pumpkin shapes. Keep the designs simple.
- Add stems: Cut small strips from the green paper for stems. Attach them to your pumpkins.
- Punch holes: Punch two holes at the top of each pumpkin. This prepares them for stringing.
- String the bunting: Thread a string through the holes. Space the pumpkins evenly.
Hang your paper pumpkin bunting across doorways, above the fireplace, or along stair banisters. This paper Halloween craft is easy for all ages. It transforms any space into a fun, autumn-themed area. Get creative with faces on your pumpkins. Use markers or additional paper cutouts. With these playful decorations, your Halloween spirit will definitely shine through!


