Essential Tools and Materials for Paper Crafting
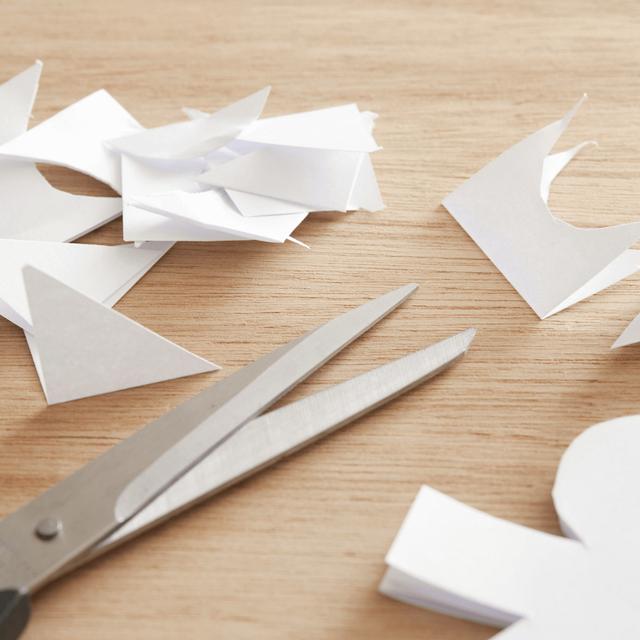
Before diving into the world of paper crafts, you’ll need to gather some basic tools and materials. Having the right equipment on hand will make the process smoother and more enjoyable. Here’s what you should have in your paper crafting kit:
- Paper: Choose a variety of paper types. Include colored, patterned, and textured paper to add interest to your creations.
- Scissors: A sharp pair of scissors is crucial for precise cutting.
- Cutting Mat: Protect your work surface and achieve cleaner cuts with a cutting mat.
- Craft Knife: For detailed work, a craft knife can be very helpful.
- Ruler: A clear ruler helps with measuring and making straight folds or cuts.
- Glue: Stick paper pieces together with glue. A glue stick, white glue, or double-sided tape all work well.
- Bone Folder: This tool helps make sharp, clean folds. It is not essential but can elevate your crafting.
- Scoring Tool: Use this to score lines for easier and more accurate folding.
As you learn how to make paper crafts, you might want to expand your toolkit. However, these basics will get you started on most projects. Happy crafting!
Selecting the Right Type of Paper
When diving into paper crafts, selecting the proper paper is crucial. It can make or break the final creation. Here’s how to choose the right type of paper for your projects:
- Weight and Thickness: Papers come in different weights and thicknesses. For sturdy crafts like boxes or cards, use heavier cardstock. Thin, flexible paper works best for delicate projects like origami.
- Texture: The paper’s texture can add depth to your work. Consider embossed or linen paper for a tactile feel.
- Color and Pattern: Choose vibrant colors and dynamic patterns for visual interest. These can turn simple designs into eye-catching creations.
- Size: Ensure you have the correct paper size for your project to avoid unnecessary joins or cuts.
- Eco-friendly Options: If sustainability is important to you, look for recycled or eco-friendly paper options.
- Printability: If you plan to print on the paper, check if it’s compatible with your printer. This will help avoid smudges and ink bleeds.
By considering these factors, you can select the best paper and enhance your crafting experience. Always remember that experimenting with different types can lead you to discover how to make paper crafts that are uniquely your own style. Keep your toolkit from the previous section ready, and you will be set to embark on this creative journey.
Basic Folding Techniques for Beginners
Mastering basic folding techniques is essential in learning how to make paper crafts that look neat and professional. Here are some foundational folds to get started with that will form the basis of most paper crafting projects:
- Mountain Fold: This is when you fold the paper away from you, creating a peak or ‘mountain’. Make sure to crease the fold well for a sharp edge.
- Valley Fold: Opposite to the mountain fold, you fold the paper towards you, forming a ‘valley’. Use your fingers to press down and define the crease.
- Reverse Fold: Start with a valley fold, and then unfold and fold the paper in the opposite direction along the same crease. This inside-out fold is great for changing directions in your project.
- Squash Fold: Open up a corner of the paper, press down so that it flattens into a square shape. This fold is often used to create bases in modular origami.
- Petal Fold: Lift a single layer of paper and fold it upwards while allowing the sides to fold inwards naturally. This technique is common in flower-making and other decorative designs.
As you practice these folds, your skills will improve, leading to cleaner and more precise work. Try to incorporate these different folding techniques into small practice pieces before attempting larger projects. Be patient and enjoy the process of learning how to make paper crafts; with time, you’ll create intricate designs with ease.
Crafting Your First Simple Paper Project
With your basic tools at the ready and an understanding of paper types and folding techniques, it’s time for your first project. Begin with something simple, like a bookmark or a greeting card. These projects will let you apply basic folds and practice cutting and gluing without overwhelming complexity.
- Bookmark: Start by cutting a strip of colorful cardstock, about 2 inches wide and 6 inches long. Decorate it using patterns or stickers. Use a hole punch to make a hole at one end and thread a piece of ribbon through for a finishing touch.
- Greeting Card: Fold a piece of cardstock in half to create a base for your card. Decorate the front with cut-out shapes, stamped designs, or handwritten messages. Make sure to use a ruler and scoring tool for crisp edges.
As you work on these beginning projects, remember to:
- Measure twice, cut once to ensure accuracy.
- Crease your folds firmly with a bone folder for sharp lines.
- Use adhesive sparingly to avoid wrinkles and bulges.
Completing these simple projects will boost your confidence in how to make paper crafts. They will also provide a solid foundation for tackling more complex projects in the future. Keep experimenting, and most importantly, have fun as you craft!
Step-by-Step Instructions for Intermediate Paper Models
Having mastered the basics, it’s time to step up your game with intermediate paper crafts. Begin with models that require a bit more precision and patience. Here, we’ll go through step-by-step instructions for creating an intermediate paper model:
- Selecting the Right Paper: For intermediate models, use medium-weight cardstock that can hold its shape well.
- Cutting Your Pieces: Measure and cut the paper according to the model’s template. Accuracy is key, so take your time.
- Scoring and Folding: Score along the fold lines for cleaner folds. Use the mountain and valley folds you’ve practiced.
- Assembling: Follow the template instructions closely, gluing pieces together one at a time.
- Finishing Touches: Add details like texture or decorative elements to bring your model to life.
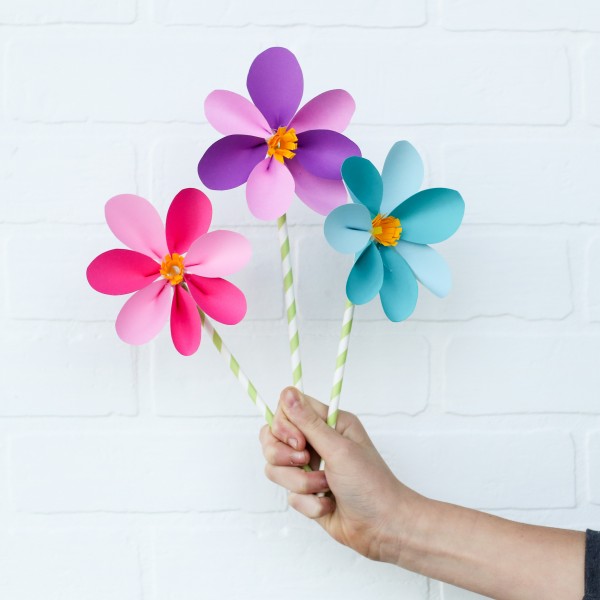
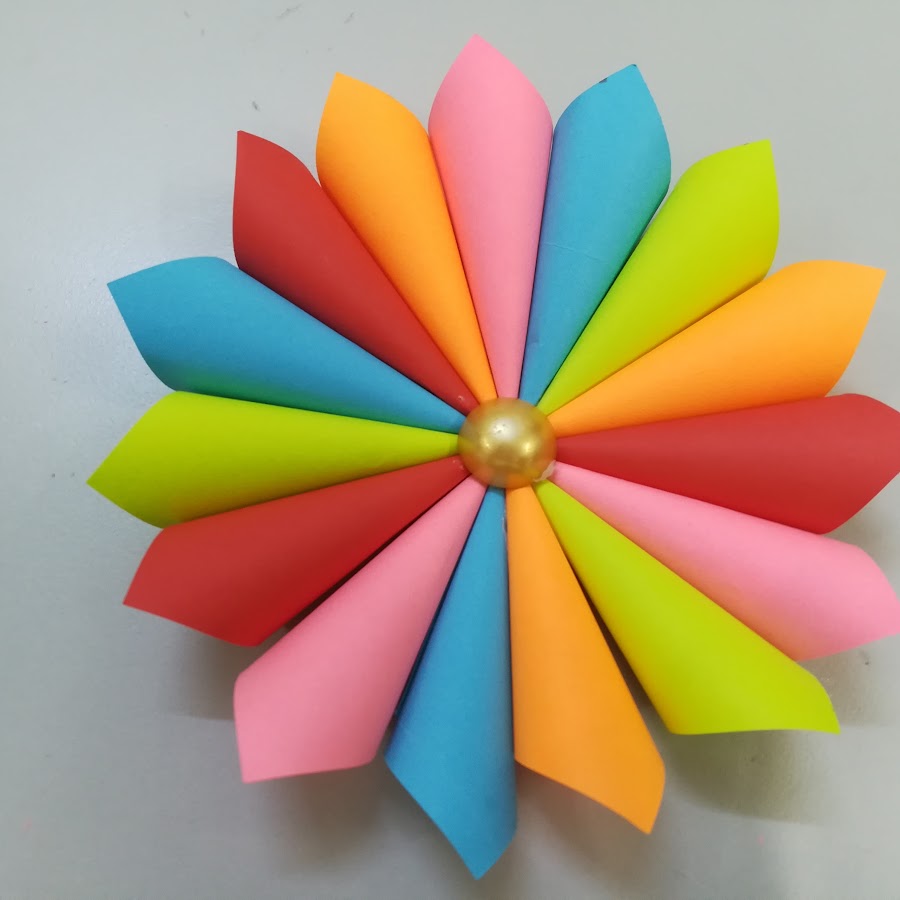
Choose a model that appeals to you, such as a paper flower or a geometric sculpture. This way, you’ll stay motivated and enjoy the crafting process. Assemble a well-lit workspace and make sure you won’t be disturbed. Organizing your materials and tools before starting can also save you time and prevent frustration. With focus and careful work, you’ll create stunning paper crafts that are sure to impress. And always remember, if a step confuses you, it’s ok to pause and double-check the instructions or try a simpler model and build your way up. Happy crafting!
Tips for Creating 3D Paper Crafts
Creating 3D paper crafts adds dimension and character to your projects. For successful 3D designs, keep these tips in mind:
- Start Simple: Begin with easy models like cubes or pyramids that require folding and gluing. These can help you understand the basics of constructing 3D forms.
- Use a Template: Precision is vital for 3D crafts. Use a pre-made template or create your own for uniform shapes and sizes.
- Sturdy Paper: Opt for cardstock that holds its shape well. It should be thick enough to stand, but not so heavy that it’s difficult to fold.
- Scoring: Always score your fold lines. This will give you crisper edges and more control over the shape of your craft.
- Layering: Build up layers of paper to enhance detail and depth. Carefully glue each layer to avoid shifting.
- Patience: Take your time with each step. Good craftsmanship will show in the final product, making your effort worthwhile.
By practicing these techniques, you’ll learn how to make paper crafts that pop off the page with lifelike dimensionality. Enjoy the process, and watch your skills grow with each project you complete.
Decorating and Personalizing Your Paper Creations
Once you’ve mastered the art of paper crafting basics and intermediates, it’s time to add personality to your projects. Decorating and personalizing can transform simple paper crafts into unique art pieces. Here’s how to elevate your paper crafts with decorative touches:
- Stamps and Ink: Use stamps and colorful ink pads to add patterns and images. This technique works well for creating backgrounds and adding detail.
- Stickers and Embellishments: Stickers, sequins, and beads add texture and shine. They are perfect for quick and standout decorations.
- Hand-lettering: Add a personal touch with hand-lettered messages or names. This adds a thoughtful element to greeting cards and bookmarks.
- Collage: Layer different papers and materials to create a collage effect. Mix textures and colors for an eye-catching result.
- Paint: Introduce watercolors or acrylics for an artistic flair. Light washes of color work well on heavier paper types.
- Cutouts: Create intricate cutout designs with a craft knife. Layer these on contrasting paper for a striking effect.
When decorating, remember to balance your design. Too much can overwhelm, and simplicity often stands out. Use the keywords ‘how to make paper crafts’ as your guide to find inspiration and tutorials for these decorating methods. With these tips, your paper crafts will not only show your skill but also reflect your unique creative voice.
Troubleshooting Common Paper Craft Challenges
As you learn how to make paper crafts, you may encounter some hurdles along the way. Here are tips to overcome common challenges:
- Misaligned Cuts: Use a clear ruler and a sharp craft knife. Always cut on a cutting mat for straighter lines.
- Weak Folds: Reinforce your folds with a bone folder or the back of a knife to make them more pronounced.
- Paper Tears: Handle paper gently, especially when working with thinner materials. Use a craft knife for precision.
- Glue Mess: Apply glue with a toothpick or cotton bud for better control. Press gently to avoid wrinkles.
- Incorrect Measurements: Always double-check your measurements before cutting. Measure twice, cut once is key.
- Fading Colors: Protect your creations from sunlight or use UV-resistant paper to prevent colors from fading.
- Lack of Stiffness: For 3D projects, choose thicker cardstock or layer multiple sheets to achieve the desired firmness.
These solutions will help you continue your paper crafting with fewer interruptions. Keep experimenting and learning how to make paper crafts, and enjoy every step of the creative process.