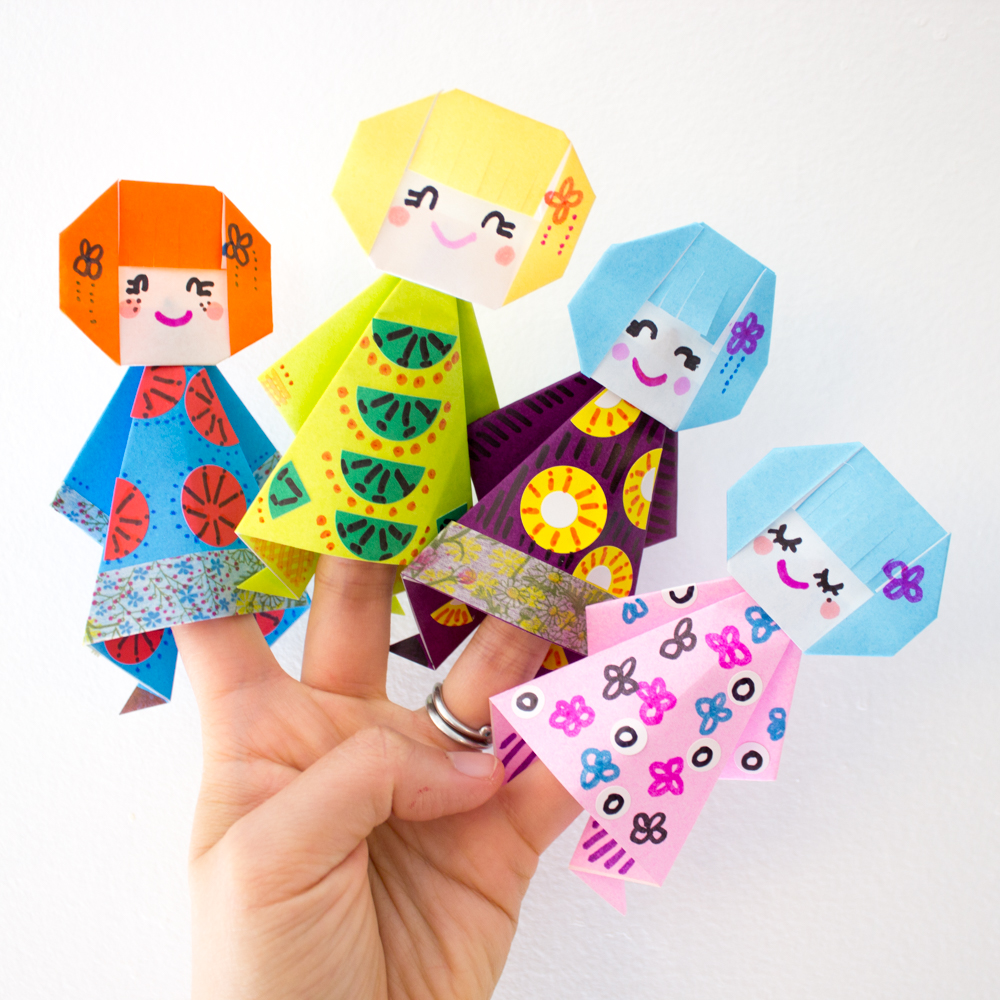
Introduction to Paper Crafting
Paper crafting is a delightful and versatile hobby. It’s a realm where your creativity can bloom and your artistic impulses can come to life. Inviting you to manipulate paper into a multitude of shapes and forms, paper crafting allows you to create everything from simple decorations to intricate art pieces. It’s a way to express yourself and make something beautiful from the humble beginnings of a sheet of paper. One of the joys of paper crafts is their accessibility. Whether you’re a seasoned crafter or a novice, the path to mastering cute crafts with paper is filled with enjoyment and learning experiences.
By diving into paper crafting, you get to explore various techniques such as cutting, folding, and gluing. These techniques form the foundation of countless projects, ranging from small tokens of affection to grand home decor pieces. The charm of cute crafts with paper lies in their simplicity and the personal touch that can be added. Every crease and curve you create transforms the paper into a unique work of art that carries a piece of your imagination.
In this journey through paper crafting, we will guide you from the basics to more specialized projects like crafting adorable paper animals, creating beautiful paper lanterns, and designing clever paper bookmarks. Equipped with a trusty set of tools and materials, a step-by-step approach, and some handy tips and tricks, you’ll be able to express your creativity and impress your friends and family with your handiwork in no time. So, get ready to fold, snip, and decorate as we embark on a creative adventure with paper!

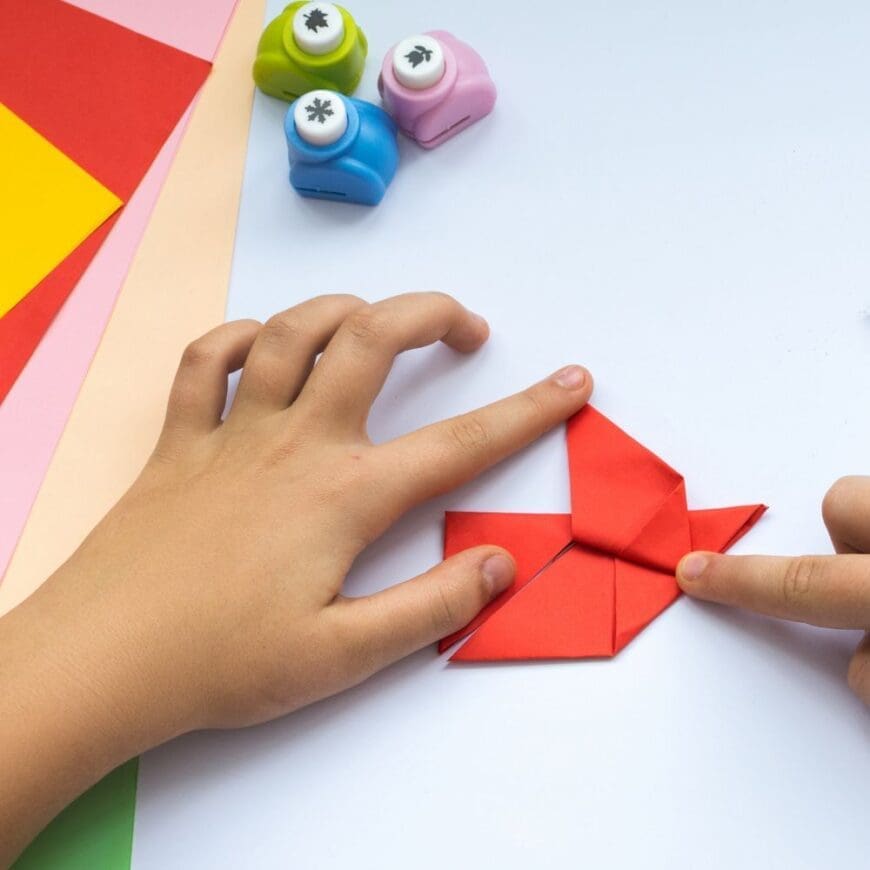
Essential Tools and Materials for Paper Crafts
To get started with cute crafts with paper, you need to gather some basic tools and materials. These essentials will make your crafting experience smoother and more enjoyable. Let’s walk through what you’ll need to begin your paper crafting journey.
- Scissors: A sharp pair of scissors is crucial for clean cuts, shaping, and fine detail work.
- Craft Knife: For precision cuts and intricate designs, a craft knife can be your best friend.
- Cutting Mat: Protect your surfaces and achieve precise cuts with a self-healing cutting mat.
- Glue: A quality glue stick or liquid glue is essential for assembling your creations without a mess.
- Paper: Start with a selection of papers in various colors and textures to add depth to your projects.
- Ruler: A sturdy ruler will help you measure and cut straight lines effortlessly.
- Bone Folder: This tool will crease paper cleanly for folds without damaging the paper.
- Pencils and Erasers: For sketching designs and correcting any guidelines on your paper.
Each of these tools plays a part in bringing your paper crafts to life. The sharper your scissors and the steadier your ruler, the more polished your end products will be. Remember, quality materials contribute to the overall look and durability of your crafts. Whether you’re folding paper flowers or cutting out patterns for paper animals, these tools will help you achieve precision and beauty in every project. Keep your workspace organized and your tools in good condition, and you’re all set for a rewarding paper crafting experience.
Step-by-Step Guide to Creating a Paper Flower Bouquet
Creating a paper flower bouquet can add a touch of charm to any room. Perfect for gifts or home decoration, these blooms are a great way to brighten up a space with the whimsical beauty of paper crafts. With cute crafts with paper, you can create a gorgeous bouquet that never wilts. Follow this simple guide to make your own.
Firstly, select a variety of colorful papers. Light and flexible paper works best for delicate petals. Then gather your tools: scissors, a craft knife, glue, and a floral wire for stems.
Step 1: Cut the Paper into Petal Shapes
Using your scissors or craft knife, cut out petal shapes from your chosen paper. The size and shape depend on the type of flower you’re making.
Step 2: Form the Petals
Wrap the paper petals around a pencil to curve them gently. This gives a natural look to each flower.
Step 3: Create the Flower Center
Roll a small piece of paper into a tight cylinder for the center of the flower. Secure it with glue.
Step 4: Assemble the Flower
Attach the petals around the central cylinder with glue. Start from the bottom and work upwards, ensuring even spacing.
Step 5: Add the Stem
Attach a floral wire to the base of the flower. Cover the wire with green paper or floral tape for a realistic stem.
Step 6: Arrange the Bouquet
Once you have a selection of different flowers, arrange them into a bouquet. Bind the stems together with floral tape.
Your paper flower bouquet is now ready to display! With no watering needed, this bouquet will remain a delightful display for as long as you like. Experiment with different papers, petal shapes, and bouquet arrangements to create unique designs every time.
How to Craft Adorable Paper Animals
Turning a flat sheet of paper into a three-dimensional animal can bring loads of personality and fun to your crafting endeavors. These adorable paper animals are perfect for decorating a child’s room, adding a unique touch to a gift, or creating a playful mobile. Let’s start with the basics on how to craft your own cute paper animals.
Step 1: Choose Your Animal Template
Decide on the animal you’d like to make. You can find many simple templates online or create your own. For beginners, animals with fewer curves, like a cat or an elephant, are easier to start with.
Step 2: Trace and Cut Out the Shapes
Lay out your paper and trace the template onto it. Use a pencil for light lines. Next, using scissors or a craft knife, carefully cut out the shapes. Remember to cut inside the lines for a cleaner look.
Step 3: Fold and Crease Your Paper
Folding is essential in giving your animal shape and dimension. Follow the template lines, and use a bone folder for crisp creases. Be gentle to avoid tearing the paper.
Step 4: Glue the Parts Together
Now, glue the pieces in place to build your animal. A glue stick might be best for smaller, delicate parts, while liquid glue can secure larger pieces. Allow adequate drying time.
Step 5: Add Details
Use colored pencils or markers to add features and details like eyes, stripes, or spots. These small touches can bring your paper animal to life.
By following these steps and using your creativity, you can craft a whole menagerie of cute paper animals. Mix different colors and textures of paper to make each creature unique. Happy crafting!
DIY Paper Greeting Cards for Special Occasions
Creating your own greeting cards adds a personal and heartfelt touch to any special occasion. Whether it’s for a birthday, holiday, or just to say ‘thank you’, a handcrafted card can express your feelings in a way store-bought ones cannot. Here is a simple guide to making DIY paper greeting cards that stand out.
Step 1: Select High-Quality Paper
Choose a sturdy and high-quality paper as the base for your greeting card. The right paper can make a big difference.
Step 2: Decide on a Design
Pick a theme related to the occasion. Sketch out your design lightly with pencils before proceeding.
Step 3: Cut and Fold Your Card
Cut your paper to the desired size and fold it neatly in half. Use a bone folder for a sharp crease.
Step 4: Decorate with Elements
Add decorative elements such as cut-out shapes, drawings, or even small embellishments like ribbons or buttons.
Step 5: Write a Personal Message
Inside the card, write a heartfelt message. Your words will bring joy and mean more than any generic card could.
Step 6: Envelope and Present Your Card
Don’t forget to craft or select a fitting envelope for your card. It’s now ready to be given to someone special!
By following these simple steps, you can create custom greeting cards for any event. Remember to use cute crafts with paper to make your card unique and memorable. With love and creativity, your DIY greeting card will surely be cherished.
Crafting Beautiful Paper Lanterns for Home Decor
Paper lanterns are a beautiful and cost-effective way to add a warm ambiance to any room. They give a soft, diffused light that creates a cozy atmosphere. Making your own paper lanterns is a fun way to customize your home decor and put your cute crafts with paper skills to the test. Here’s a straightforward guide to creating your own paper lanterns.
Step 1: Choose the Right Paper
Select lightweight paper that will diffuse light well. You can use colored or patterned paper to match your decor.
Step 2: Cut and Fold the Paper
Cut a rectangle from the paper. Fold it in half lengthwise, then make evenly spaced cuts along the fold, stopping before the paper’s edge.
Step 3: Unfold and Shape the Lantern
Open the paper and roll it into a cylinder. Secure the ends with glue to maintain its shape.
Step 4: Add a Handle
Cut a strip of paper and attach it to the top of the lantern as a handle.
Step 5: Place the Light
Use a battery-operated tea light for safety. Place it inside the lantern to cast a gentle glow.
Step 6: Display Your Lantern
Hang the lanterns from the ceiling, or place them on tables. They can elevate the look of any room.
Crafting paper lanterns is not only enjoyable but also enhances your living space, making it inviting and unique. With varied paper selections and different sizes, you can create a personalized touch that reflects your style and brightens your home.
Clever Paper Bookmarks for Avid Readers
For those who love to read, custom bookmarks can enhance the reading experience. These clever paper bookmarks are not only fun to make but also serve as a thoughtful gift for fellow book lovers. Let’s craft unique paper bookmarks with a personal touch.
Step 1: Select Sturdy Paper
Choose cardstock or heavyweight paper to ensure your bookmark is durable.
Step 2: Cut Out the Bookmark Shape
Trim your paper into a rectangle or get creative with unique shapes that reflect the reader’s interests.
Step 3: Decorate Your Bookmark
Illustrate, stamp, or add stickers. This is where you can personalize and be creative.
Step 4: Laminate for Durability
Consider laminating your bookmark to protect it from wear and tear.
Step 5: Attach a Tassel or Ribbon
Give your bookmark a finishing touch by adding a ribbon or tassel at the top.
Step 6: Personalize with a Quote
Include an inspiring quote or a message to make it special.
By following these steps, you can create cute crafts with paper that are both practical and charming. Avid readers will appreciate the effort and personalization that goes into a handmade bookmark.

Tips and Tricks for Perfecting Your Paper Craft Skills
To elevate your paper craft creations, hone your skills with these tips and tricks. Achieving perfection in cute crafts with paper takes practice, but these suggestions will help you along the way.
Practice Your Cutting Techniques: Good cuts make for cleaner edges. Practice cutting straight lines and curves. Use sharp scissors for the best results.
Measure Twice, Cut Once: Always double-check your measurements before cutting. Accurate dimensions are key to a polished finish.
Crease with Care: Use a bone folder for crisp folds. Softly score your paper first to prevent unwanted tears.
Choose the Right Glue: Consider the project when picking glue. A glue stick can work for lightweight paper, while stronger adhesives are better for cardstock.
Embrace Mistakes: Learn from errors instead of fretting. They’re steps in your crafting journey.
Keep Tools Clean: Wipe scissors and craft knives after use. Clean tools ensure precision and prevent sticky residues.
Work in Stages: Don’t rush. Allow glue to dry and folds to set before moving on.
Layer for Depth: Stack paper layers to add more dimension. It makes your craft stand out.
Personalize Your Projects: Add your flair with unique colors, patterns, and textures.
Stay Inspired: Try new designs, templates, and techniques. Inspiration keeps the crafting fresh.
Patience and persistence are essential. With practice, your paper craft skills will flourish and your cute crafts with paper will impress everyone who sees them.