
Introduction to Paper Flower Crafting
Paper flower crafts are a delightful and creative way to bring a touch of nature into your home without the worry of wilting. These crafts are perfect for beginners as they do not require extensive experience or costly materials. With simple supplies and a bit of patience, anyone can start creating beautiful, long-lasting blooms.
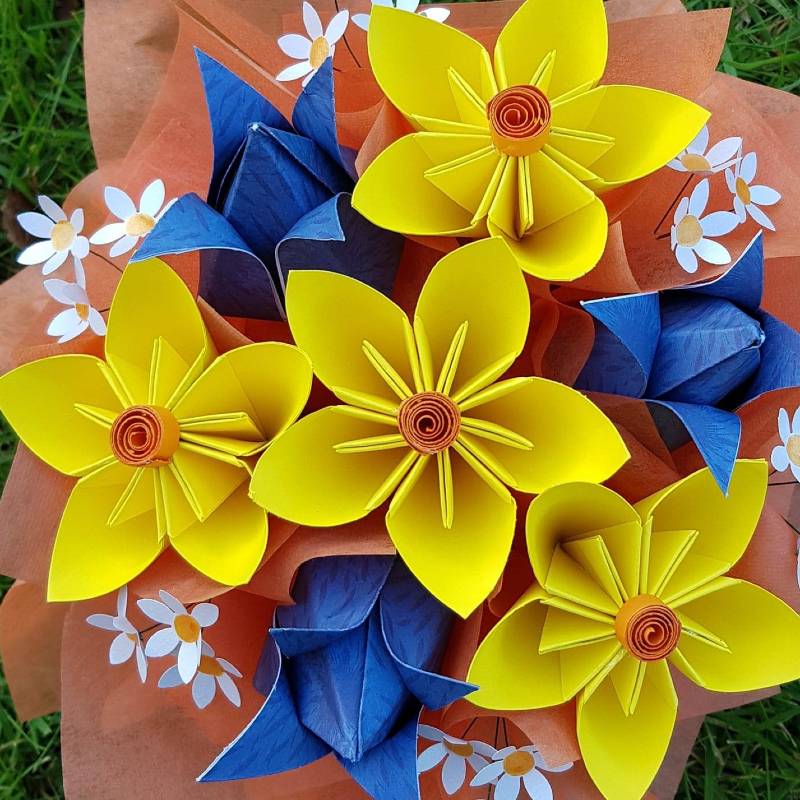
Paper flowers are versatile. You can use them for decorations, gifts, or even as part of your homemade greeting cards. They are a popular choice for weddings, showers, and other festive events. What’s truly enchanting about paper flower crafts is the scope for creativity. You can make flowers that are strikingly realistic or whimsical and abstract – the design choices are endless.
Not only are paper flower crafts enjoyable to make, but they also offer a great way to unwind and express your creativity. They can be a relaxing hobby and a fun activity to do with friends or family. Plus, they can make a great starting point for those interested in exploring other paper crafting disciplines.
In this blog, we will guide you through everything you need to know as a beginner. From the essential tools and materials to basic techniques, we will help you embark on a journey of crafting stunning paper flowers. We will also share some design tips and tricks, explore different types of paper flowers, and give you ideas on how to decorate with them. So grab your crafting tools, and let’s dive into the world of paper flower crafts.
Essential Tools and Materials for Paper Flower Crafts
To jumpstart your paper flower crafting journey, you’ll need a collection of basic tools and materials. The good news is these supplies are readily available and quite affordable. First and foremost, you’ll need an assortment of paper. Consider different types, such as crepe, tissue, or cardstock, depending on the look you’re aiming for. Each type adds a unique texture and sturdiness to your flower creations.
A reliable pair of scissors is crucial for cutting intricate petal shapes. Precision is key, so opt for a pair with sharp blades. For more detailed work, a craft knife can prove indispensable. Always use a cutting mat with your craft knife to protect surfaces.
Adhesives are a pillar of paper crafting. Glue sticks are perfect for lightweight paper, while hot glue guns provide a stronger bond for thicker materials. If you’re looking for a mess-free option, consider double-sided tape. It’s quick and easy to use.
To add dimension and realism to your flowers, you’ll also need some wire for stems. Floral tape can cover the wire, giving your flowers a professional finish. Don’t forget to pick up a floral tape in different colors to match your paper.
Finally, some additional accessories like tweezers for handling small pieces, a bone folder for crisp folds, and a selection of embellishments can elevate the look of your paper flower crafts. Remember, the quality of your materials will reflect in the finished product – so choose wisely and have fun experimenting.
Basic Techniques for Making Paper Flowers
To start with paper flower crafts, mastering a few basic techniques is essential. These foundational skills will enable you to craft a variety of flower types with ease.
Choosing the Right Paper
Begin by selecting the right type of paper for your flowers. Crepe paper offers stretch, making it ideal for realistic blooms. Tissue paper is great for delicate, translucent petals. Cardstock provides a sturdy base for more structured designs.
Cutting the Petals
Petals are central to your flower’s appearance. Draw petal shapes on your selected paper and cut them out with your sharp scissors. Try to make smooth cuts, following the outlines carefully.
Shaping the Petals
Shaping gives life to your petals. Use the bone folder to create creases and curves. Gently stretch the paper or pinch the edges to add a natural, organic look to each petal.
Attaching Stems
For flowers with stems, attach a wire using floral tape. Wrap the tape firmly but gently to secure the wire without tearing the paper.
Assembling the Flower
Start from the center and work outwards. Layer and adhere petals around the stem, progressing from smaller to larger petals. Ensure each layer dries before adding the next.
Adding Finishing Touches
Final touches like adding a calyx at the base or dusting with a bit of chalk for color can give your flowers an authentic touch. These subtle details make a significant difference.
These techniques form the groundwork upon which you can build more complex and varied paper flower projects. Keep practicing, and you’ll quickly see your skills blossom. In the following sections, we’ll walk you through a step-by-step guide to creating your first paper flower, offer design tips and tricks, explore the many varieties of paper flowers you can make, and give you fun ideas for decorating with them.
Step-by-Step Guide to Creating Your First Paper Flower
Now that you’ve got the basics down, let’s walk through a simple step-by-step guide to create your very first paper flower. This project will serve as an excellent introduction to paper flower crafts and give you the confidence to tackle more complex designs.
Select Your Paper
Start by choosing the right paper for your flower. Cardstock is stiff and vibrant, making it a great starter choice.
Draw the Petal Template
On the paper, draw a simple petal shape. Make sure to keep the size consistent.
Cut the Petals
With your scissors, cut out the petals. Smooth, even cuts will make your flower look neat.
Shape the Petals
Use your fingers to gently curve each petal to give it a more natural shape.
Prepare the Stem
Cut a piece of wire to the desired stem length. Wrap it with floral tape.
Assemble the Base
For the flower’s center, roll a small piece of paper into a tight bud and glue it to the stem’s top.
Attach the Petals
Apply glue to the base of each petal and attach them around the bud, starting with the smallest petals.
Add Layers
Continue attaching larger petals in layers, allowing each to dry before adding the next.
Finish with Details
Add details like a calyx or leaves at the base of the petals for a realistic touch.
Enjoy Your Flower
Admire your creation! You’ve just completed your first paper flower craft.
With this guide, you’ll create beautiful paper blooms in no time. Remember, practice is key, so don’t hesitate to experiment with different paper types, petal shapes, and colors. Happy crafting!
Designing Paper Flowers: Tips and Tricks
When designing paper flower crafts, small details can make a big difference. Here are some tips and tricks to help you create beautiful, lifelike flowers that stand out.
Embrace Variety in Petal Shapes and Sizes
Vary petal sizes and shapes for a more natural look. Nature isn’t uniform, so your paper flowers shouldn’t be either. Mix and match different petal types within the same bloom for added depth and realism.
Play with Color Combinations
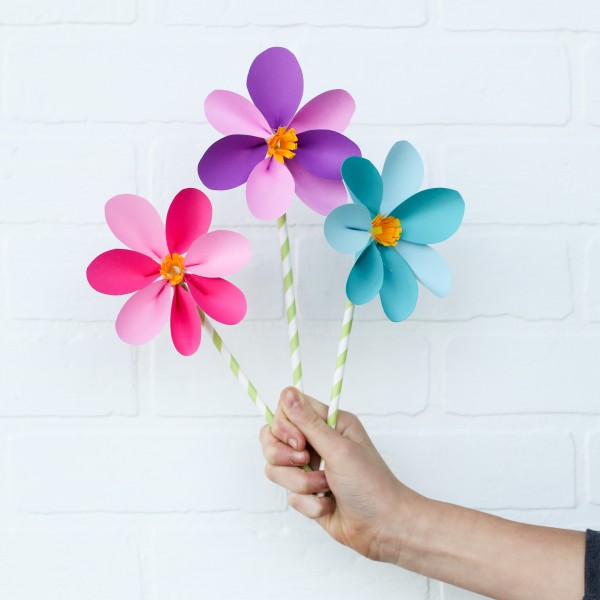
Colors bring paper flowers to life. Use soft pastels for a delicate feel or bold, vibrant hues to make a statement. Try combining colors on a single petal or layer different colored petals for intriguing effects.
Add Texture for Realism
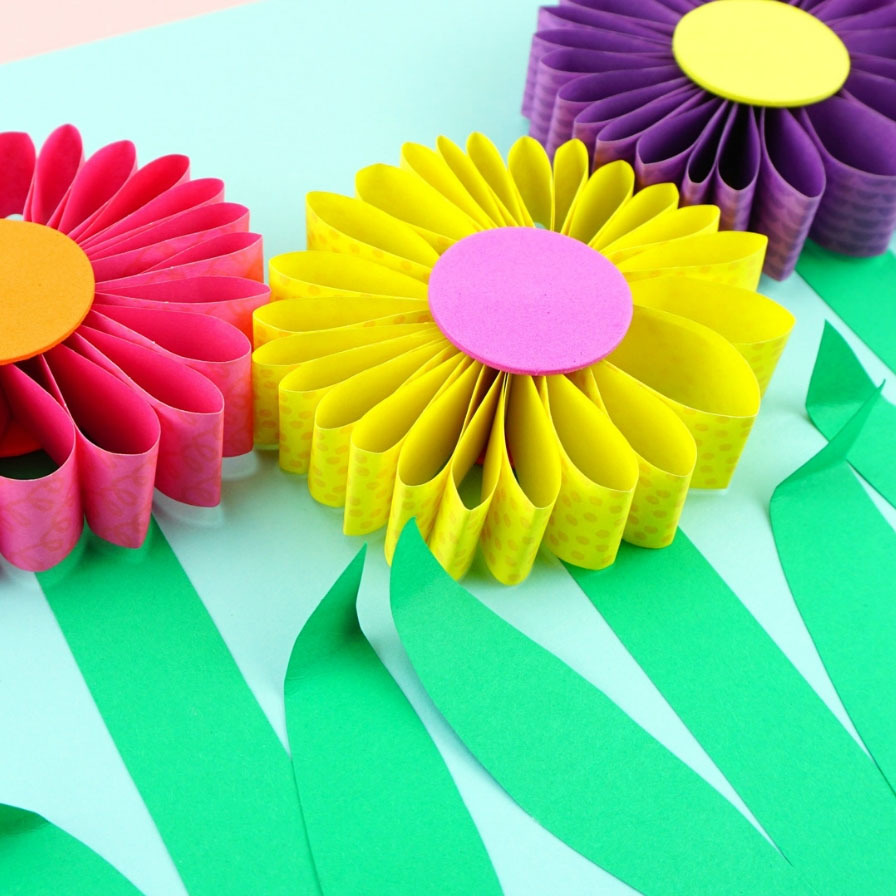
Texture gives your flowers character. Crumpling, twisting, or fringing the edges of petals can mimic the variations found in real flowers. Techniques like folding or embossing can add an interesting dimension to your crafts.
Choose the Right Center
The center of the flower is the focal point. Use beads, pom-poms, or twisted paper to create rich centers that capture attention. Each type of center offers a different appeal.
Experiment with Layering
Layers create volume. Start with smaller petals at the center and build outward with larger ones. Each layer should slightly overlap the previous one, creating fullness.
Consider the Stem
Stems are more than just supports. They can be a design element too. Use different lengths and thicknesses to vary the height and shape of your flower arrangements.
These tips are just the beginning. With experimentation and creativity, you’ll develop your unique style. The beauty of paper flower crafts is the freedom they offer to express your artistic vision.
Varieties of Paper Flowers You Can Make
When diving into paper flower crafts, the possibilities are vast. Here’s a quick look at the different types you can create:
- Roses: Known for their spiraled centers and layered petals, paper roses are classics. You can make them in any color.
- Daisies: With their simple, round shapes and cheerful look, paper daisies are easy and fun to craft.
- Peonies: These lush blooms are all about volume and soft, rounded petals. They make a bold statement.
- Lilies: Elegant and sophisticated, paper lilies have long petals and often come in bright, tropical colors.
- Carnations: To mimic their ruffled texture, gently scrunch the paper for your carnations.
- Sunflowers: Large and sunny, paper sunflowers can brighten up any room with their big, bold faces.
- Tulips: Sleek and simple, paper tulips are perfect for creating a springtime vibe.
- Chrysanthemums: With many layers of small petals, chrysanthemums are intricate and full of texture.
- Orchids: These exotic flowers are a bit more challenging but truly stunning with their unique shapes.
Each variety has its charm and can be used in different decorative contexts. Try mixing types for a diverse bouquet. Remember to let your creativity flow and enjoy the process.
Decorating with Paper Flowers: Home Decor Ideas
Paper flower crafts can transform your home with unique touches of beauty. Here’s how to decorate with them:
- Mantle Display: Line your mantlepiece with a range of paper flowers. Mix different types, like roses and daisies, for variety.
- Wall Art: Create a paper flower mural on your wall. A single flower or a bunch can make a bold statement.
- Centerpieces: Paper flowers can be stunning table centerpieces. Place them in a vase for an elegant look.
- Window Decor: Hang paper flowers with fishing line near windows. They will move gently with the breeze.
- Frame Them: Frame your paper flower art. Choose a simple frame to let the flowers shine.
- Party Decor: Use paper flowers to bring parties to life. Make garlands or place settings.
- Gift Toppers: Add a personal touch to gifts with a small paper flower. It’s better than a bow.
- Holiday Themes: Adapt your flowers for holidays. Think orange and black for Halloween or red and green for Christmas.
- Wreaths: Combine paper flowers with greenery to make a beautiful door wreath.
- Mobiles for Nurseries: Craft a mobile from paper flowers. It’s delightful for a baby’s room.
Remember, these home decor ideas should be a starting point. Let your creativity lead the way!
Resources and Further Learning for Paper Flower Enthusiasts
If you want to grow your paper flower crafting skills, many resources are available. Here are some ways to learn more and find inspiration for your paper flower projects.
- Books: Look for books on paper flower crafting. They often provide step-by-step instructions and photos.
- Online Tutorials: Websites and video platforms offer free tutorials. Search for paper flower crafts and follow along.
- Crafting Blogs: Follow bloggers who specialize in paper flower crafts. They share ideas, techniques, and patterns.
- Workshops: Check for local crafting workshops. They can be a fun way to learn and meet other enthusiasts.
- Craft Supplies Stores: Visit these stores for materials. Staff can often suggest helpful tips and popular products.
- Social Media: Use platforms like Instagram and Pinterest. Follow paper craft hashtags for endless inspiration.
- Crafting Communities: Join online forums or local clubs. Share your work, get feedback, and learn from others.
Take advantage of these resources. Keep practicing and exploring. With time, your paper flower crafts will flourish.