Introduction to Paper Mache
Paper mache is a beloved craft form with a long history. This art involves creating objects using paper pieces and a sticky adhesive paste. It’s a simple and versatile craft technique. Crafters of all ages enjoy shaping paper mache into a variety of items. From decorative bowls to elaborate sculptures, paper mache crafts offer endless possibilities.
To get started with paper mache, all you need is a few basic supplies. These include paper, adhesive, and a mold or form to shape your craft. The beauty of paper mache lies in its simplicity and the ability to recycle materials. Many projects even use old newspapers, which is a great way to upcycle.
Whether you’re a teacher looking for a classroom project or a parent seeking a fun activity, paper mache crafts are ideal. They are cost-effective, eco-friendly, and spark creativity. We’ll guide you through the entire process, from preparing the paste to the finishing touches. Get ready to dive into the world of paper mache and create your own unique crafts.

Essential Materials for Paper Mache Crafts
To start your paper mache crafts, gather the essential materials. You’ll need the following:
- Paper: Newspapers are common, but you can use any paper. Magazines, tissue paper, and construction paper are fine too.
- Adhesive: Traditional paste can be made from flour and water. Many crafters use glue for a stronger bond.
- Mold or Form: Balloons, bowls, or cardboard shapes work well as bases for your crafts.
- Mixing Bowl: For preparing your paste. Make sure it is large enough.
- Tools: Brushes, spoons, or your hands are needed to apply the paste.
- Paints and Brushes: After your craft dries, you might want to paint it.
- Varnish or Sealer: To protect your finished craft and give it a shine.
Remember to cover your workspace with newspapers or a plastic sheet. This keeps cleanup easy. Keep the pieces of paper you will use in manageable sizes. This makes soaking and layering them easier. Always have extra materials on hand, especially paper and adhesive. This ensures you don’t run short during your creative process. These simple supplies are the building blocks to all your paper mache crafts.
Step-by-Step Guide to Making Paper Mache Paste
A crucial component of paper mache crafts is the paste. It binds the paper layers together. The traditional paste is both economical and easy to make at home. Here’s a simple guide to preparing your homemade adhesive.
- Gather Your Ingredients: You will need flour and water. Some people add salt to prevent mold.
- Create the Mixture: Use a mixing bowl to combine one part flour with two parts water. Mix until smooth.
- Adjust Thickness: The paste should have a consistency similar to pancake batter. Add more water or flour as needed.
- Prevent Mold: If you choose, add a pinch of salt. This helps to keep your paste mold-free.
- Cook Optional: Some prefer to cook their mixture. Boil it for three minutes, then let it cool.
- Application Tips: Use a brush or your fingers to apply paste to your paper strips.
Once your paste is ready, you can start building your paper mache crafts layer by layer. Get your paper pieces and mold set, and enjoy the process of crafting! Be sure to make extra paste – it’s better to have more than you need. As you get more skillful, you might want to experiment with different paste recipes, such as glue-based pastes. Keep things simple, and most importantly, have fun as you delve into the world of paper mache crafts.
Basic Paper Mache Techniques
Crafting with paper mache starts with mastering basic techniques. These fundamentals serve as the backbone for all projects, from simple to complex. Here are some key methods that will help you produce sturdy and stunning crafts:
- Tear, Don’t Cut: Tearing paper creates softer edges that blend easily without lines.
- One Direction: Lay strips in one direction for the first layer, then crosswise for the next. This adds strength.
- Smooth It Out: Use your fingers or a brush to smooth out each strip. This prevents bumps.
- No Bubbles: Press out any air bubbles. This ensures a smooth surface for painting later.
- Uniform Layers: Aim for even layers of paste and paper. Consistent thickness prevents warping.
- Let It Dry: Allow each layer to dry before adding another. This step is crucial for durability.
Remember to work in a well-ventilated area and wash your hands frequently to avoid a sticky mess. Also, balance is important. Use enough paste to adhere the paper, but avoid soaking it. Excess paste can weaken the structure. With these techniques in hand, you’re ready to tackle a variety of paper mache crafts with confidence.
Fun and Easy Paper Mache Project Ideas for Beginners
Now that you’re familiar with the materials and methods, let’s dive into some easy paper mache project ideas perfect for beginners. These projects are simple, enjoyable, and serve as a great introduction to the craft of paper mache. Remember to be patient and allow time for drying between layers. Here are some fun ideas to get you started:
- Paper Mache Bowls: Create functional and decorative bowls using a balloon as your form.
- Mask Making: Unleash your creativity by shaping unique masks over a mold of your face or a balloon.
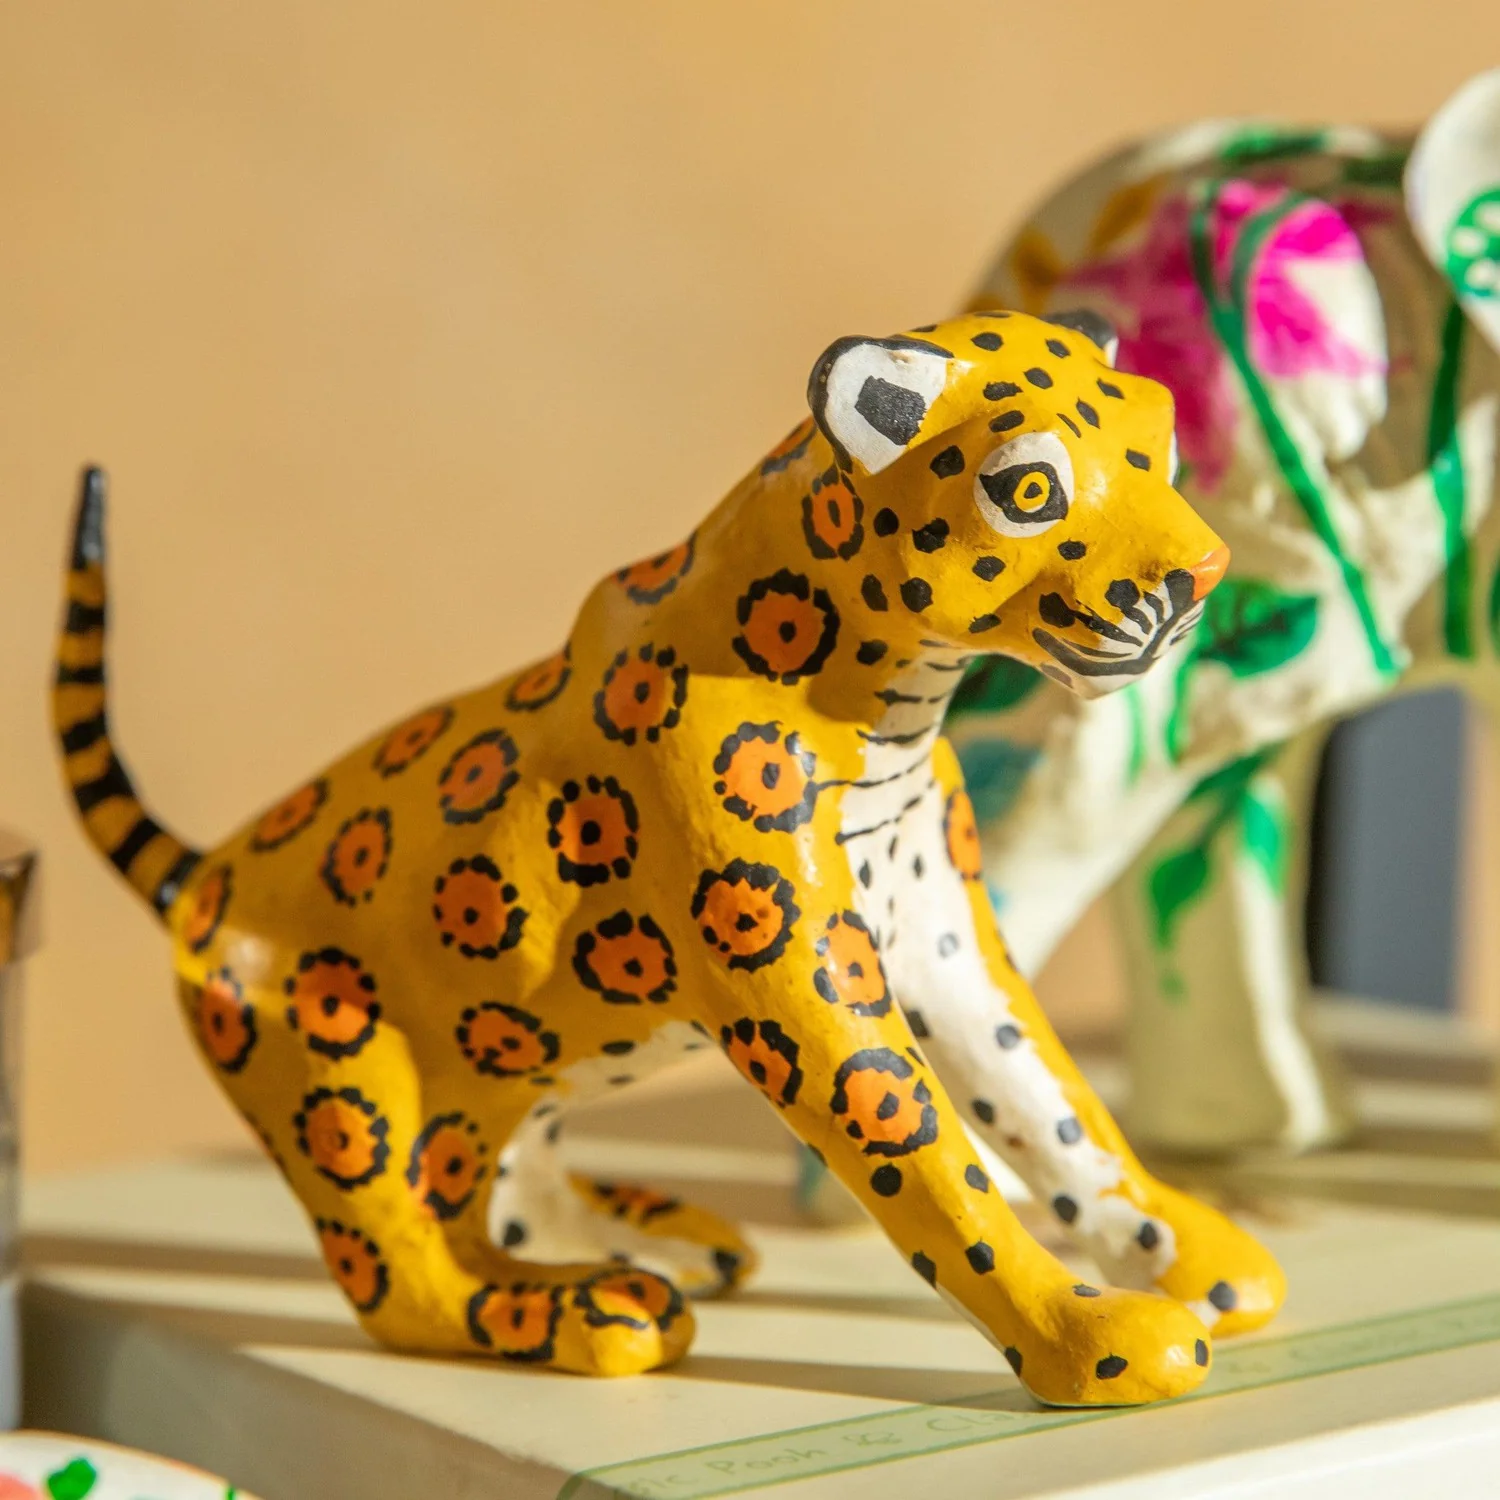
- Animal Figurines: Construct adorable animals using cardboard or wire frames as the base.
- Customized Photo Frames: Enhance a simple frame by covering it with paper mache for a textured look.
- Decorative Vases: Use old bottles or jars as forms to create elegant vases that can hold flowers.
Each of these projects allows for a lot of personalization. You can paint or decorate your finished crafts however you like, giving them a personal touch. The joy of paper mache crafts is seeing how everyday materials transform into something new and extraordinary. So don’t hesitate, grab your supplies, and start crafting!

Advanced Paper Mache Projects for Crafting Enthusiasts
For those who have mastered the basics, advanced paper mache projects can be a thrilling challenge. These projects require patience, precision, and a desire to push your crafting boundaries. Whether you are looking to create complex sculptures or intricate decorative pieces, advanced paper mache crafts offer a fantastic opportunity to hone your skills.
Here are some ideas for advanced paper mache enthusiasts:
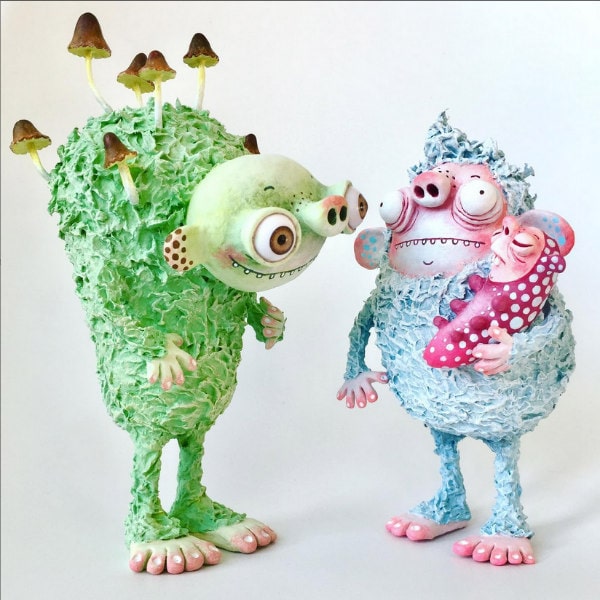
- Detailed Sculptures: Try your hand at creating realistic or fantastical figures. Use wire armatures for support.
- Layered Wall Art: Build up layers of paper mache to craft dimensional wall art with depth and texture.
- Furniture Pieces: Construct sturdy and usable furniture such as stools or small tables with multiple layers and reinforcements.
- Themed Displays: Create elaborate scenes or dioramas, perfect for events or window displays.
- Papier-M?ché Taxidermy: Craft animal heads for artistic wall mounts without harming any living creature.
For best results, consider using finer papers like art tissue or newsprint for smooth finishes. Mixing in adhesives like joint compound can add strength. When you’re ready to paint, invest in high-quality brushes and paints to bring out the details in your masterpiece. Remember to seal your completed project with a strong varnish to protect it from moisture and damage. As you embark on these advanced ventures, take your time and savor the process of creating something truly unique.
Finishing and Painting Your Paper Mache Crafts
Once you have completed the layers for your paper mache crafts, it’s time for finishing touches. These steps are crucial to turn your craft from a basic paper structure into a work of art. Here’s how you can finish and paint your paper mache crafts with ease:
- Sanding: Gently sand your dried paper mache craft. This creates a smooth surface.
- Wiping Clean: Remove any dust from sanding. A slightly damp cloth works well.
- Priming: Apply a coat of white paint or gesso. This prepares the surface for painting.
- Painting: Choose your colors and start painting. Acrylic paints are a good choice.
- Detailing: Use smaller brushes for fine details. Be patient and take your time.
- Sealing: Once the paint dries, seal your craft. Use a clear varnish or sealer.
Sanding helps to minimize lumps and bumps, ensuring a professional appearance. Make sure the craft is completely dry before sanding to avoid tearing. When you prime your craft, you cover any print or discoloration from the paper. It gives a clean slate for your chosen colors. Acrylic paints are vibrant and versatile; they adhere well to the paper mache surface. Take your time with painting, allowing the paint to dry between coats. Use several coats if needed for a solid finish.
When your craft is painted and dried, it’s important to seal it. This protects your art from moisture and wear. It also adds a lovely shine, making your craft look more polished. You can use a spray-on or brush-on sealer, depending on your preference.
Through finishing and painting, your paper mache crafts become durable and visually pleasing. So grab your sandpaper, brushes, and paint, and turn your paper mache into a beautiful creation.
Tips for Preserving and Displaying Paper Mache Art
Paper mache art needs care to last and look good. Here are tips to preserve and show it off:
- Keep Dry: Avoid damp places. Moisture can damage paper mache.
- Avoid Sunlight: Direct sun can fade paint and weaken the craft.
- Dust Regularly: Gently brush dust off. This keeps colors bright.
- Store Smart: Use bubble wrap or tissue paper for protection in storage.
- Display Thoughtfully: Choose spots with low humidity and stable temperature for showcasing.
- Use Sealants: Apply a waterproof sealer for extra protection.
- Rotate Displays: Change your art’s location now and then. This prevents damage from constant light exposure.
These steps help your paper mache art stay intact over time. Remember, the right care makes a big difference. Happy crafting!